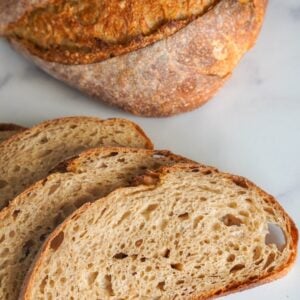
Hint of Rye Sourdough Bread
INGREDIENTS
Feed Your Starter
- 13 g sourdough starter
- 65 g water
- 65 g bread flour or all-purpose flour
Main Dough
- 350 g water* may need to be adjusted; See Notes
- 10 g sugar or honey
- 10 g extra virgin olive oil
- 130 g active sourdough starter
- 325 g bread flour
- 100 g whole wheat flour
- 75 g rye flour
- 10 g salt
Equipment
- 3/4 L Weck jar for your starter
- Staub mixing bowl this is my favorite, but any large mixing bowl is great
- Bowl cover code THATSOURDOUGHGAL for 15% off
- Proofing box optional
- Banneton code TSG5 for 5% off; I'm using the Oval Spiral Large here
- Parchment paper or bread sling
- Bulka bread oven code TSG10 for 10% off; any Dutch oven works great
Instructions
- Feed your starter: Before bed, in a 3/4 L Weck jar (or similar-sized glass jar), feed your starter using a 1:5:5 ratio — mix 13 g sourdough starter, 65 g water, and 65 g bread flour or all-purpose flour until smooth. Loosely cover and let ferment on the counter overnight [10–12 hours at 68–75°F (20–24°C)]. This recipe uses 130 g, so you'll have 13 g left to maintain your starter.
- Mix the dough: In the morning, in a large mixing bowl, combine 350 g water* (See Recipe Notes), 10 g sugar, 10 g extra virgin olive oil, and 130 g active sourdough starter. Add 325 g bread flour, 100 g whole wheat flour, 75 g rye flour, and 10 g salt. Using a Danish dough whisk or your hands, mix until no dry flour remains. This is the start of bulk fermentation. Cover the bowl and let rest for 30–40 minutes.
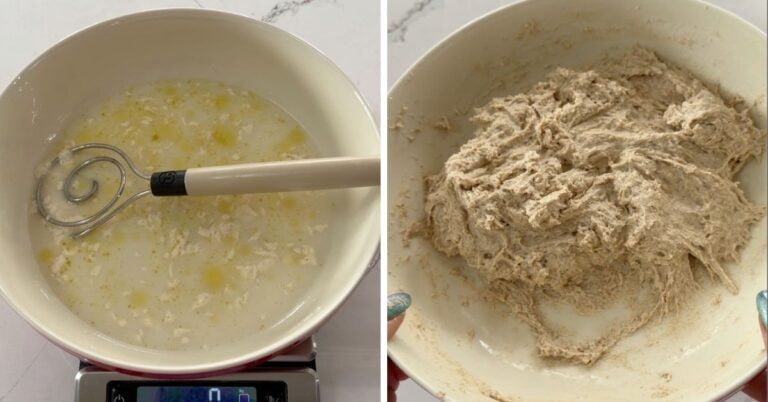
- Stretch and fold: Wet your hands, grab one edge of the dough, and stretch it up before folding it back over the center. Rotate the bowl a quarter turn and repeat. Continue until the dough resists being stretched. This is usually around 8 folds total. Use a bowl scraper to clean up the sides of the bowl. Cover the bowl and let rest for 30–40 minutes.
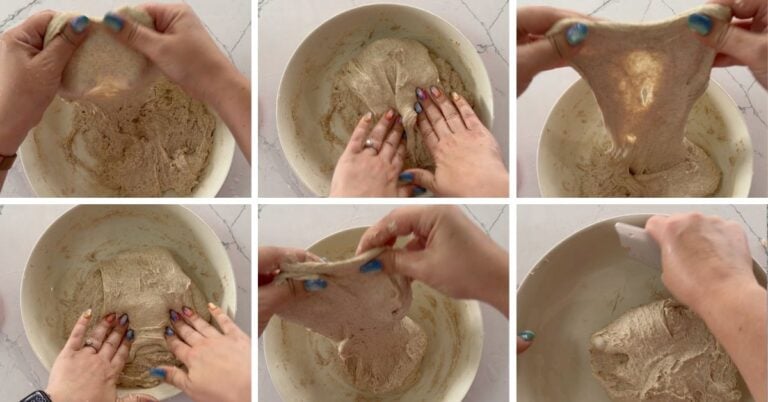
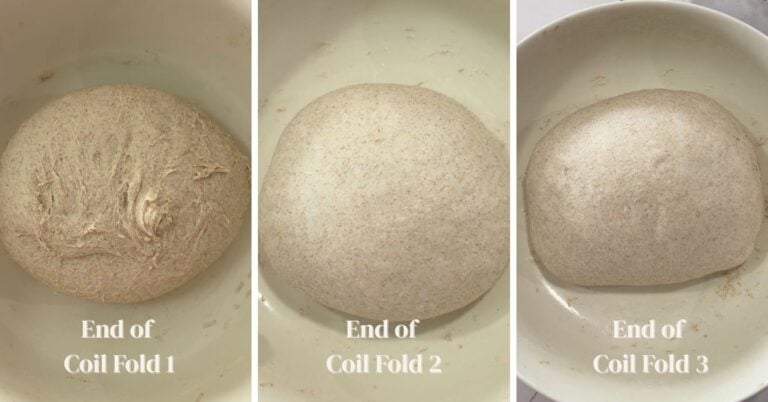
- Coil folds (repeat every 30–40 minutes for a total of 3 rounds): Wet your hands and slide them under the center of the dough. Lift the dough up and let the ends fold underneath, then rotate the bowl 90° and repeat. Wet your hands as needed. Cover and rest between rounds.
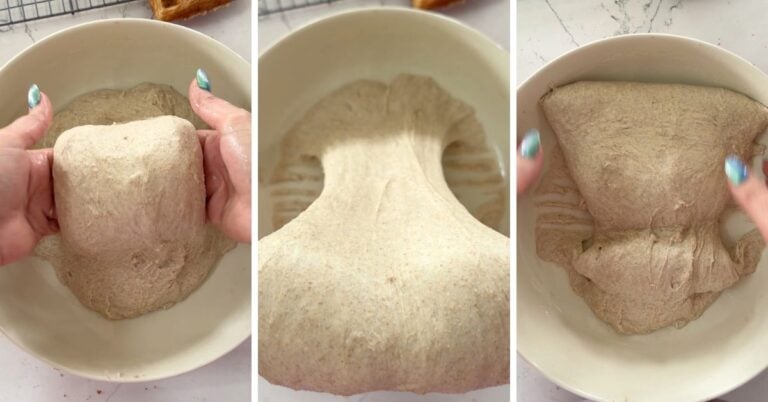
- You should notice the dough smoothing out and getting stronger throughout this process.
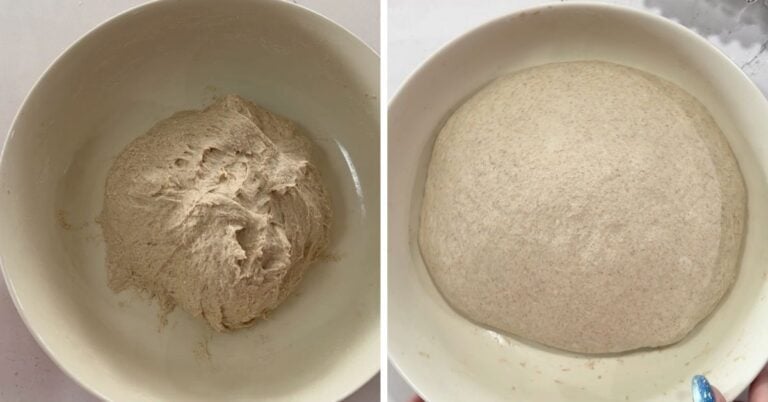
- Finish bulk fermentation: Bulk fermentation began when you first mixed the dough. It's ready to shape when it has increased in volume, has lots of visible bubbles, jiggles when you shake the bowl, and shows minor webbing when you gently pull on the edge of the dough. At 77–80°F (25–26.5°C), expect about 5.5–6.5 hours total, but timing varies a lot with temperature — so trust the visual cues over the clock.
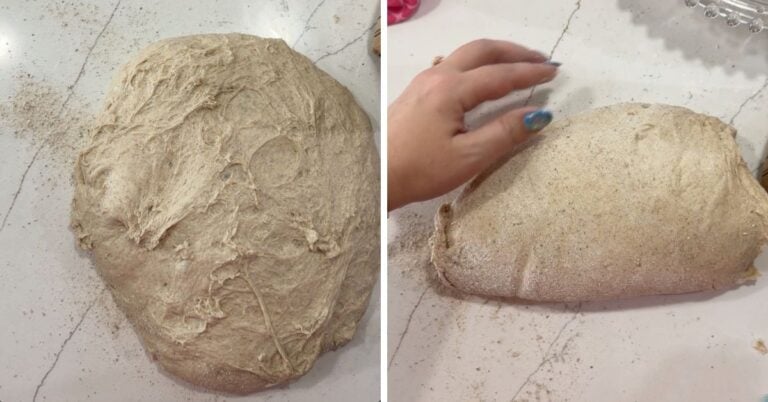
- Pre-shape: Lightly dust your dough and work surface with flour (I like using rye flour), then turn out the dough. Use your hands or bench scraper to flip it so the smoothest side is facing up.
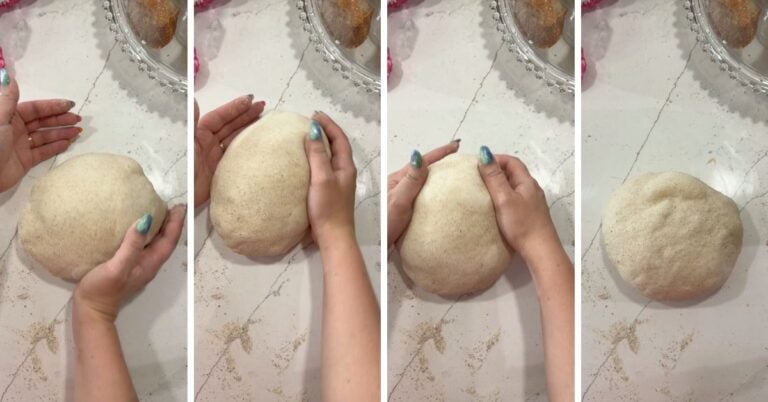
- Push the dough up, around, and back toward you in a candy cane motion. Continue doing this gently until you've coaxed it into a taut round shape. Let rest, uncovered, for about 10 minutes.
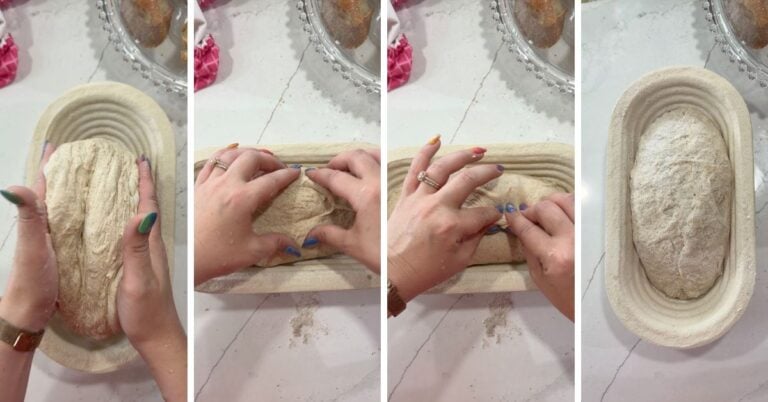
- Final shape: Use the caddy clasp technique to shape the dough quickly and easily. For a batard, fold your dough like a book and place it into a floured banneton. For a boule, do a double clasp (folding like a book in both directions), then flip it into a floured banneton. Pinch the seam closed and dust lightly with flour before covering.
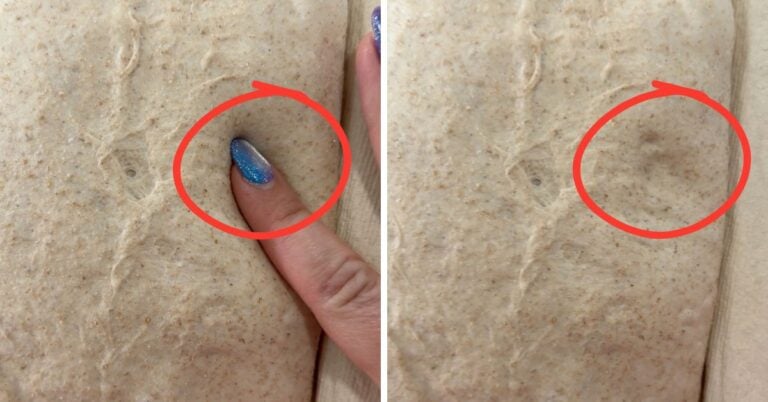
- Second proof: Choose one of two options: For an overnight proof, refrigerate the dough and proceed with the next step anytime the following day. For a same-day proof, place the dough in a warm spot and proceed when it has puffed up and passes the poke test (see Notes for explanation), about 1.5 hours at 80°F (26.5°C). Note that the poke test does not work on cold dough.
- Score and bake: Preheat your oven to 450°F (230°C) convection — or 475°F (250°C) conventional — with a Dutch oven inside.
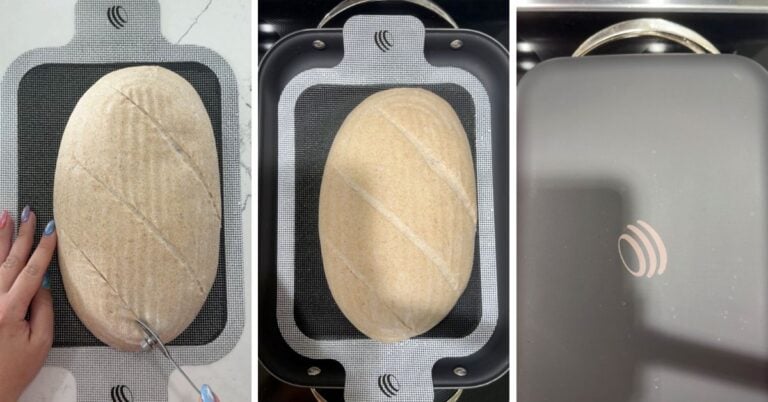
- Transfer the dough to parchment paper or a bread sling and score it. I like doing three shallow, diagonal slashes, but choose any design you like! Place it in the Dutch oven. For a blistered crust, add 1–2 ice cubes under the parchment or bread sling before covering.
- Bake with the lid on for 25 minutes. Remove lid and bake for 10–15 minutes more, or until golden brown and the internal temperature is 205–210°F (96–99°C).
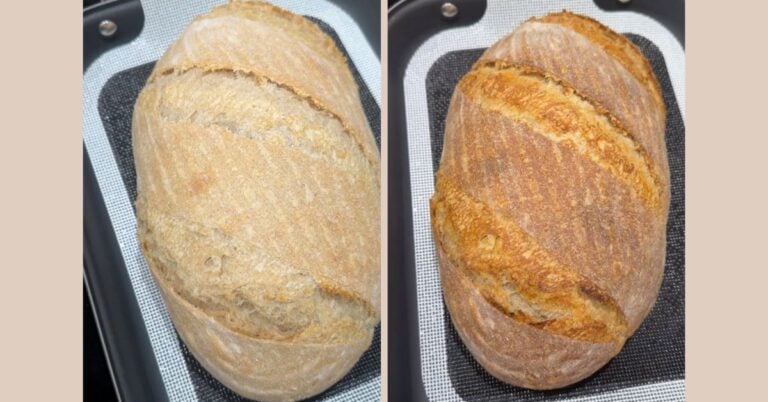
- Cool on a wire rack for at least 90 minutes before slicing.
Notes
Dialing in your ideal hydration: Different flours absorb different amounts of water. For this recipe, I typically use Central Milling High Mountain Bread Flour, Local Millers Stone Ground Rye, and Local Millers Stone Ground Turkey Red Wheat. The flour you use may absorb more or less water than mine. The first time you make this loaf, start with 350 g of water and monitor the dough's texture as it comes together. If it feels too dry or stiff, add water in small increments until the dough feels workable. You may need up to 380 g of water total. Once you know how much water your flour needs — write it down so you can use that amount in future bakes. Or, just wing it and lean into intuitive baking!
Poke test: Lightly flour a finger and poke the dough. If it springs back quickly and fully, it needs more time. You're looking for an indent that stays put and springs back only very slightly and slowly. Note that the poke test only works on dough that has proofed at room temperature — it won't give accurate results on cold dough straight from the fridge. This short video has more visuals if needed.
