
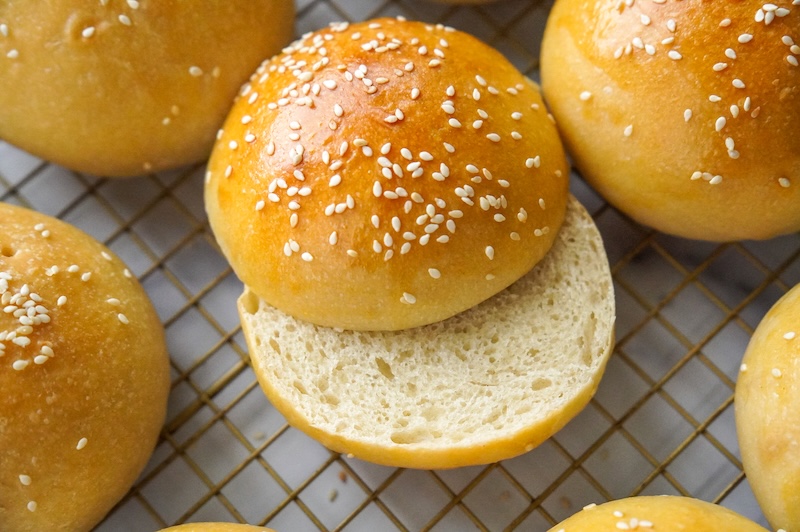
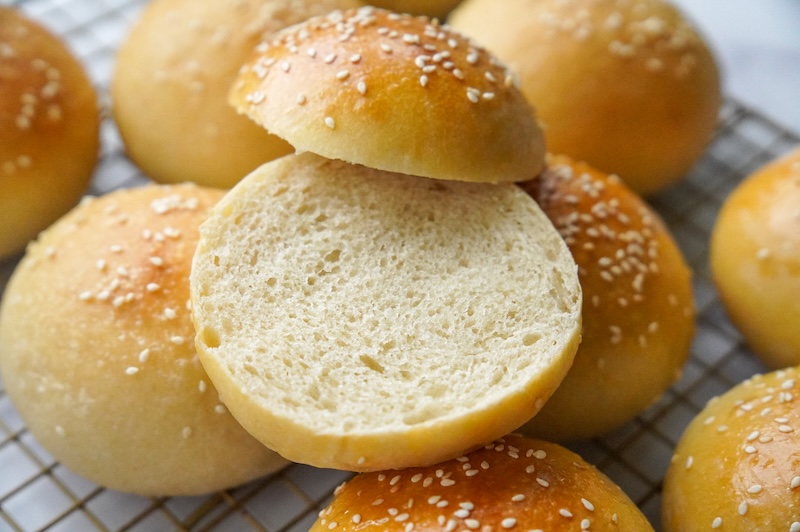
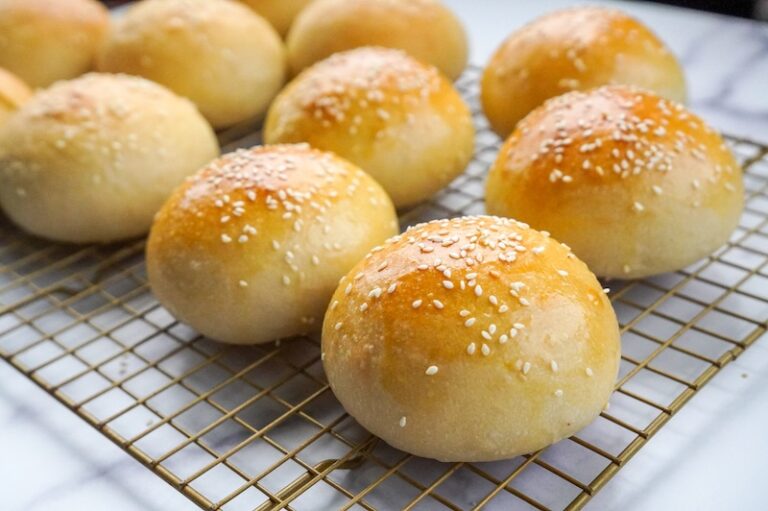
Pillowy Soft Sourdough Hamburger Buns (with Tangzhong)
After co-creating the hot dog bun recipe with Sam from Healing Slice, I knew this dough would also be perfect for pillowy soft sourdough hamburger buns.
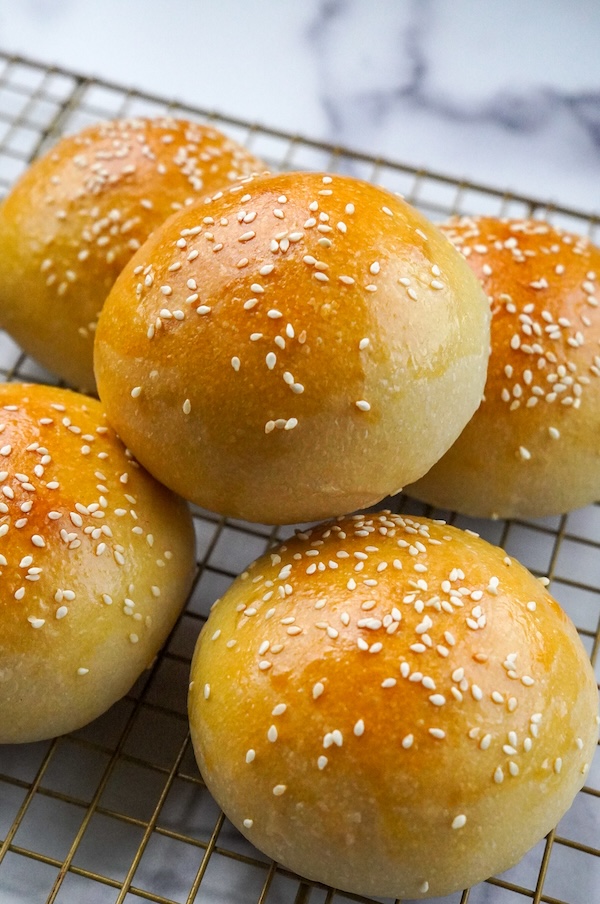
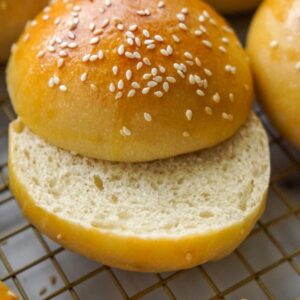
These naturally leavened buns are light, fluffy, and perfectly squishable, just like the storebought ones.
But the flavor? It is SO much better. Plus, you get all the wonderful gut health benefits of sourdough.
Whether you’re bringing the buns for a cookout, the 4th of July, or just a weeknight dinner with the family, this recipe is sure to be total winner!
Why You’ll Love These Sourdough Hamburger Buns
- Overnight fermentation: Mix the dough before bed, and most of the work happens while you sleep. Wake up, shape your buns, and bake in the afternoon.
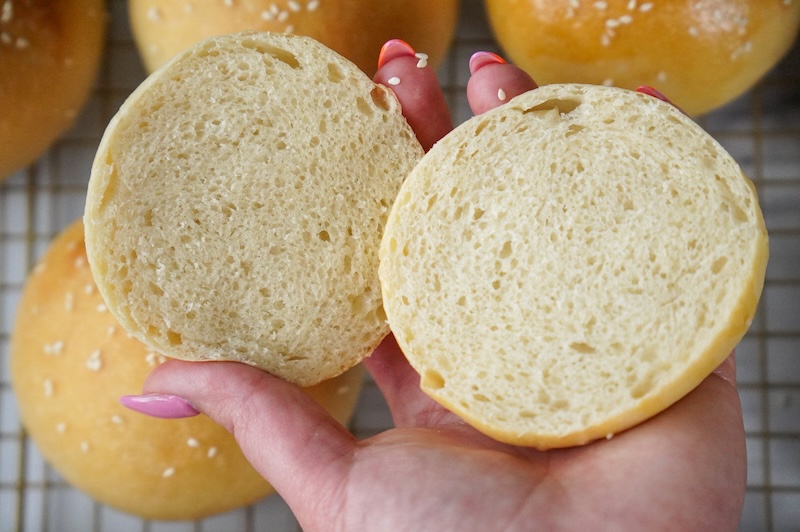
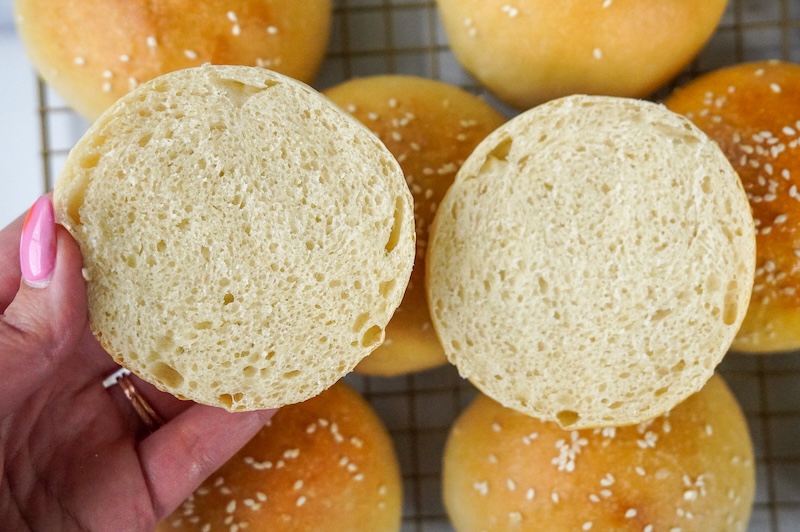
- Soft, squishy texture that holds up to real burgers: These buns are light and fluffy but strong enough to handle all the toppings—no soggy bottoms here.
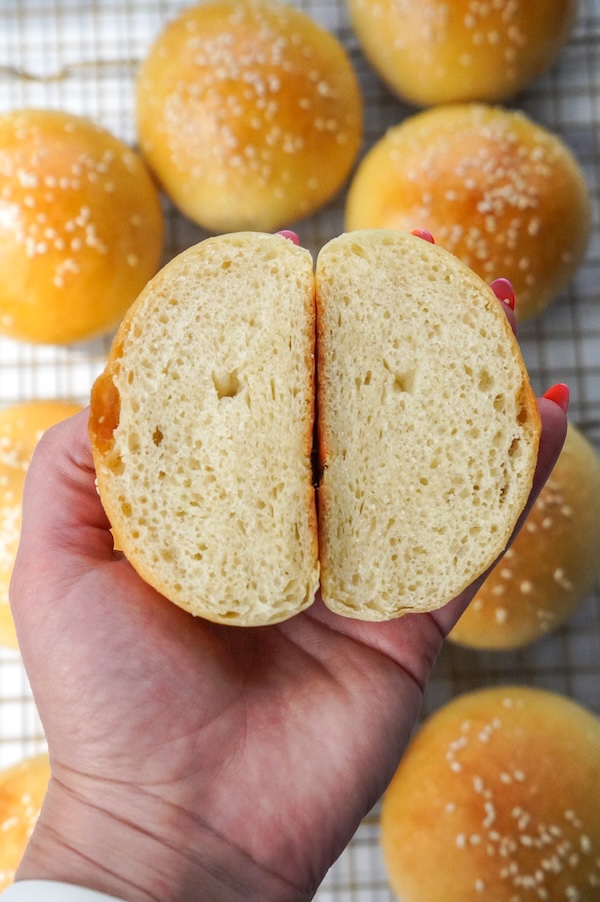
- No dense interiors: Just pillowy, perfectly baked buns with a soft crumb and golden top.
- Versatile dough: This same dough works for hot dog buns, burger buns, or even Sam’s copycat Olive Garden breadsticks. We have more recipe ideas with this magical dough in the works, too!!
- Slow to stale: The tangzhong in this dough has tons of benefits that carry over into the baked buns, one of which is a slowed-down staling process. These buns stay soft for days.
Learn more: Tangzhong: The 3-Minute Secret to Softer Sourdough
- Kid and husband approved: Which, honestly, is the ultimate endorsement in this house. My husband has never liked homemade hamburger buns because they’re not as light and squishy as the cheap ones from the store. But these? These totally are. And they’re better.

The Journey to the Winning Recipe
It took six rounds of recipe testing (and a lot of squishy-bun failures) to get it right.
After experimenting with different flours, playing with hydration, swapping in milk and sweet starters, and finally discovering the magic of tangzhong, Samantha and I landed on a soft, fluffy sourdough dough that worked like a dream.
You can read more about the 6 attempts on my overnight sourdough hot dog bun recipe.
What started as a mission to recreate storebought-style hot dog buns turned into a versatile base recipe that’s now our go-to for everything from buns to breadsticks.
The secret? A simple tangzhong that takes the dough from good to pillowy perfection.
What Is Tangzhong? (And Why It Works So Well for Hamburger Buns)
Tangzhong is a simple baking technique, traditionally used in Asian baking, that helps create ultra-soft, fluffy bread that stays fresh longer. You’ll see it in recipes like Japanese milk bread or pillowy dinner rolls.
Here’s how it works: you take a small portion of the flour and liquid from your recipe (usually water, milk, or a mix of both), and cook it on the stove—or in the microwave—until it thickens into a smooth, pudding-like texture. Then, let it cool before adding it to your dough.

This quick step gelatinizes the starches in the flour, allowing the dough to hold more moisture, which makes the final bread extra tender and squishy—and keeps it that way for days.
What does that mean for your hamburger buns?
- A dough that’s easier to work with (even though it’s technically more hydrated)
- Buns that rise higher and bake up lighter, thanks to the extra moisture creating steam in the oven
- Soft, squishy texture that stays soft for days (no hockey pucks by tomorrow)
In our case, it turned out to be the magic step that makes these buns next-level.
Baker’s Timeline
| Day 1 | |
| 9 AM | Make the sweet levain and tangzhong |
| 8:30 PM | Mix the dough and let rest for 20-30 minutes |
| 9 PM (Optional) | Stretch and fold or second mix |
| Overnight | Bulk fermentation |
| Day 2 | |
| 8 AM | Shape buns |
| 8 AM – 12:30 PM | Second rise |
| 12:30 PM | Brush buns with egg wash and sprinkle sesame seeds on top; Bake |
| 1 PM | Let cool on cooling rack |
Step-By-Step Instructions for Overnight Sourdough Hamburger Buns (with Tangzhong)
Step 1: Make the Sweet Levain
Making a sweet levain instead of using your regular starter helps tone down the sourness, which gives these buns their soft, rich flavor.
In the morning, mix together:
- 20g active sourdough starter
- 20g honey
- 60g all-purpose flour
- 40g water
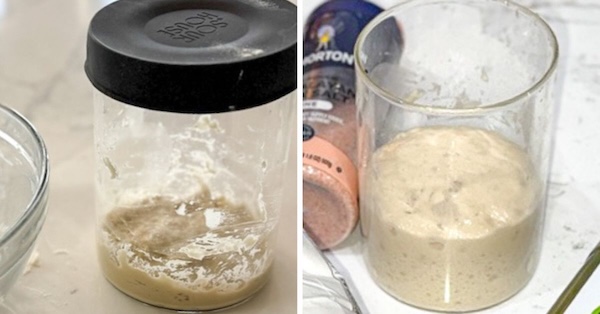
Stir everything together in a jar until it forms a thick paste. Cover loosely and let it sit at room temperature until it peaks, just like you would with your regular starter.
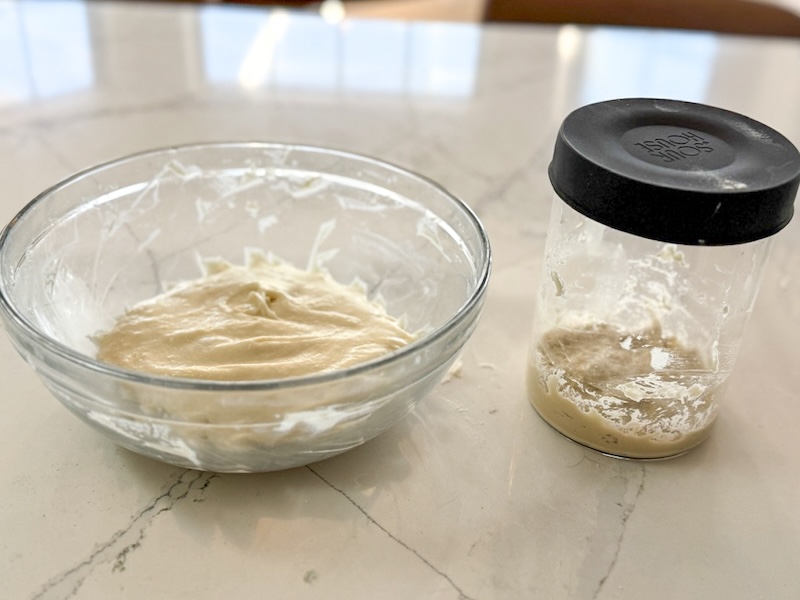
Depending on your room temperature, that usually takes about 8 to 12 hours. You’ll know it’s ready when it’s at least doubled in size, full of bubbles, slightly domed on top, and smells sweet and yeasty.

Step 2: Prepare Tangzhong
You can make the tangzhong at any time, but since it needs to cool, I typically do it when I’m prepping my starter.
To make it in the microwave, whisk together 63g all-purpose flour and 315g milk in a microwave-safe bowl. Microwave in 30-second intervals, stirring in between, until it thickens into a smooth, pudding-like paste.


You’re aiming for a temperature around 150°F (65°C), which usually takes 4 to 6 rounds to achieve. If you make it on the stovetop, stir constantly over medium heat until it thickens and reaches this temperature.
Let the tangzhong cool to below 100°F before using it in your dough. I just cover it and pop it in the fridge until I need it.
Step 3: Mix the Dough
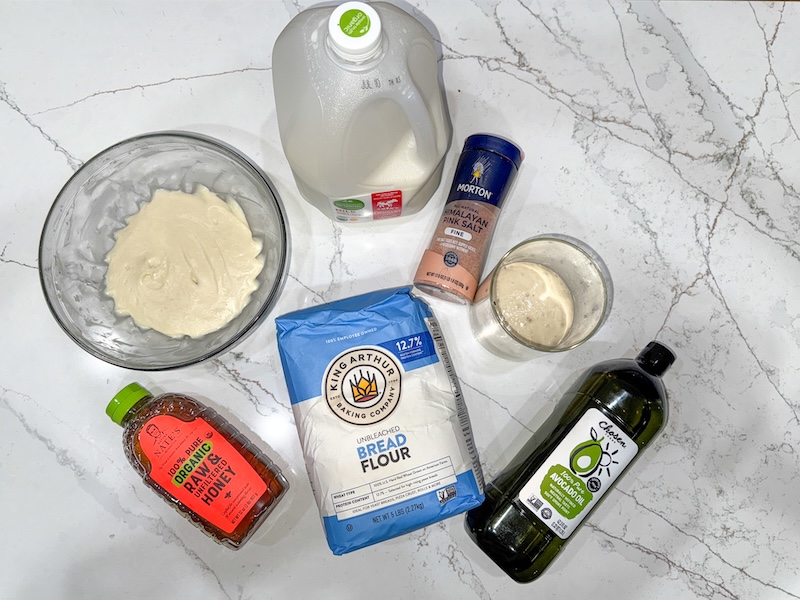
The next morning, in the bowl of a stand mixer (or large bowl if mixing by hand), combine:
- 120 g sweet starter
- 80 g milk
- 50 g honey
- 80 g avocado oil (or melted, unsalted butter)
- 560 g all-purpose flour (or bread flour)
- 12g salt
- All of the tangzhong
Mix on a low speed for 4 to 5 minutes, just until everything comes together into a soft, slightly tacky dough.
Let the dough rest for 20 to 30 minutes, then mix it again in the stand mixer for about 2 more minutes—or do a quick stretch and fold if you’re working by hand.
That second mix is optional, but if you’ve got the time, it really helps strengthen the dough and makes it easier to work with later.
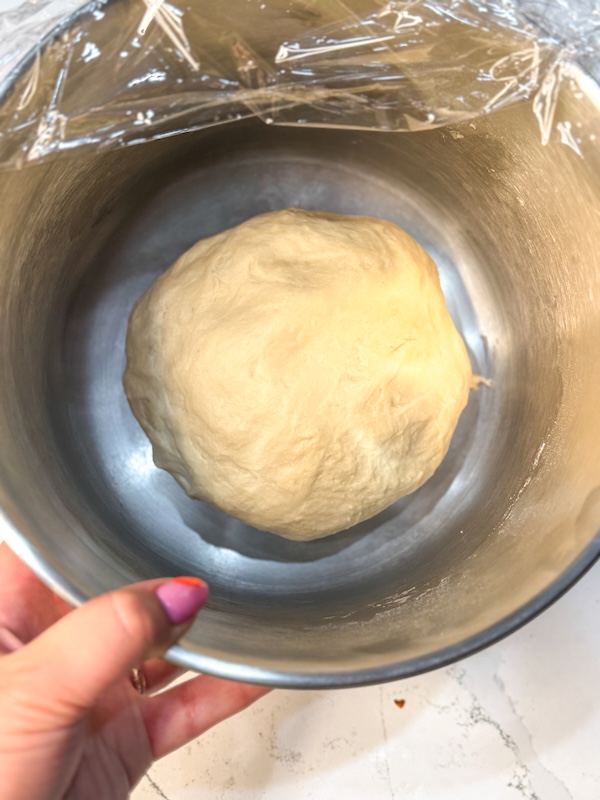
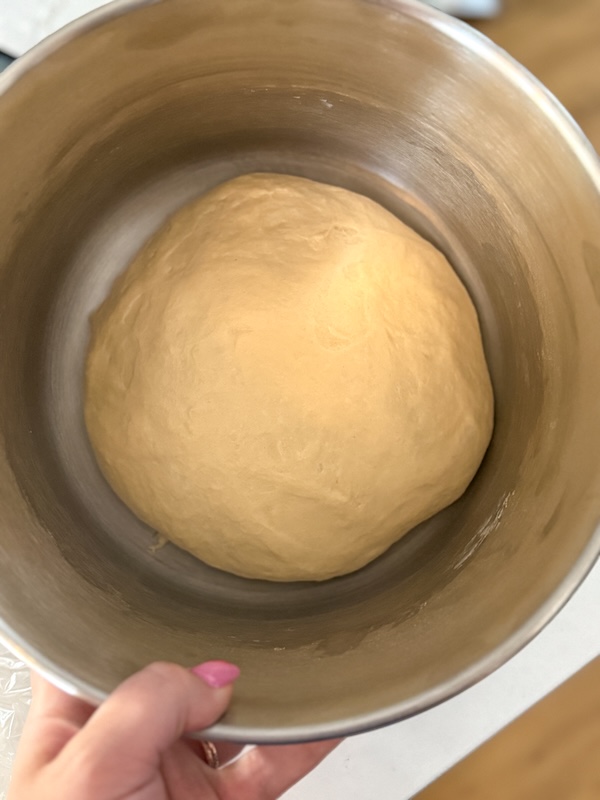
Step 4: Bulk Fermentation
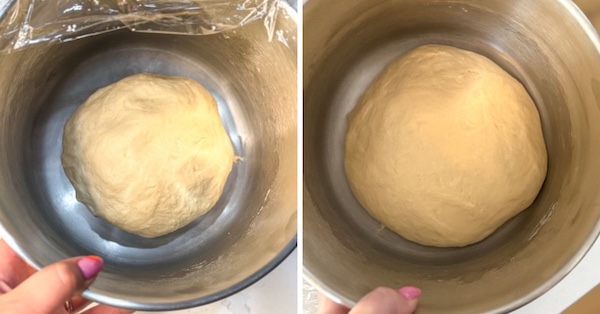
Transfer the dough to a clean bowl (you can lightly oil if you want), cover it, and let it rise overnight at room temperature, or about 8 to 12 hours.
It should increase in size and feel puffy to the touch by morning.
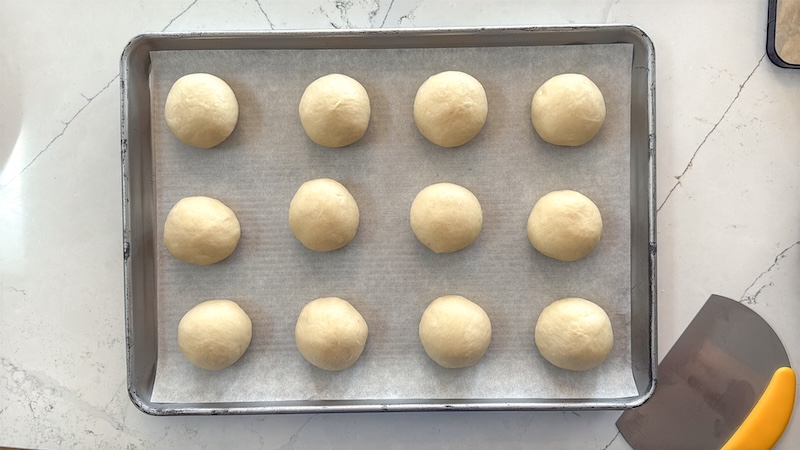
Step 5: Shape the Buns
Turn the dough out onto your work surface. You shouldn’t need any flour as this isn’t a sticky dough.
Note: If your dough has overproofed (or your home is humid, your flour didn’t absorb as much water as mine, etc.), it could be stickier than mine. In that case, use a light dusting of flour to help with shaping.
Divide the dough into 12 equal pieces, about 100g each.
To shape each bun, take the 100g of dough in your hands and fold it like a book. Rotate and repeat, folding 5 or 6 times, or until the dough starts to resist and doesn’t want to fold anymore. Then pinch the seam at the bottom to seal it. You should see some surface tension forming on top.

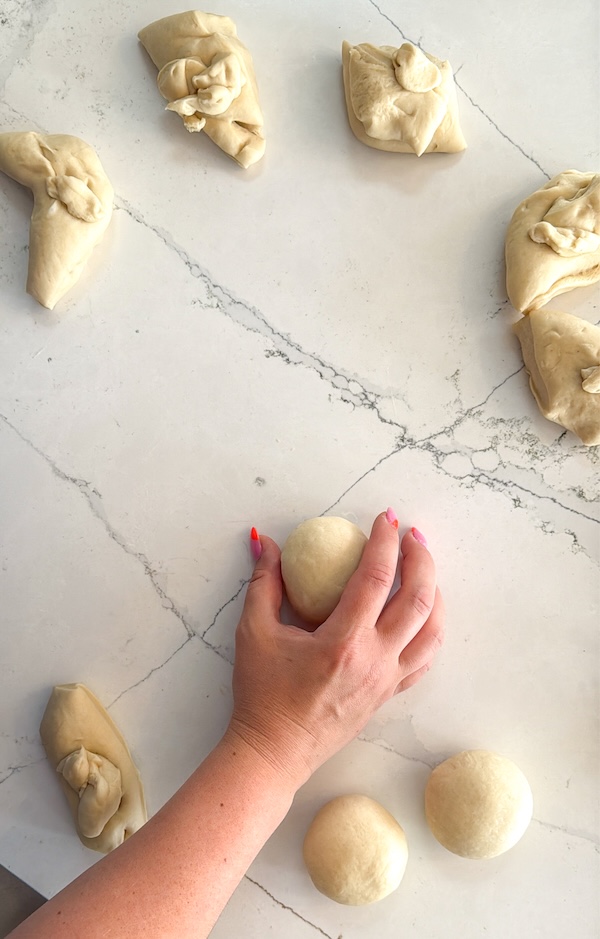
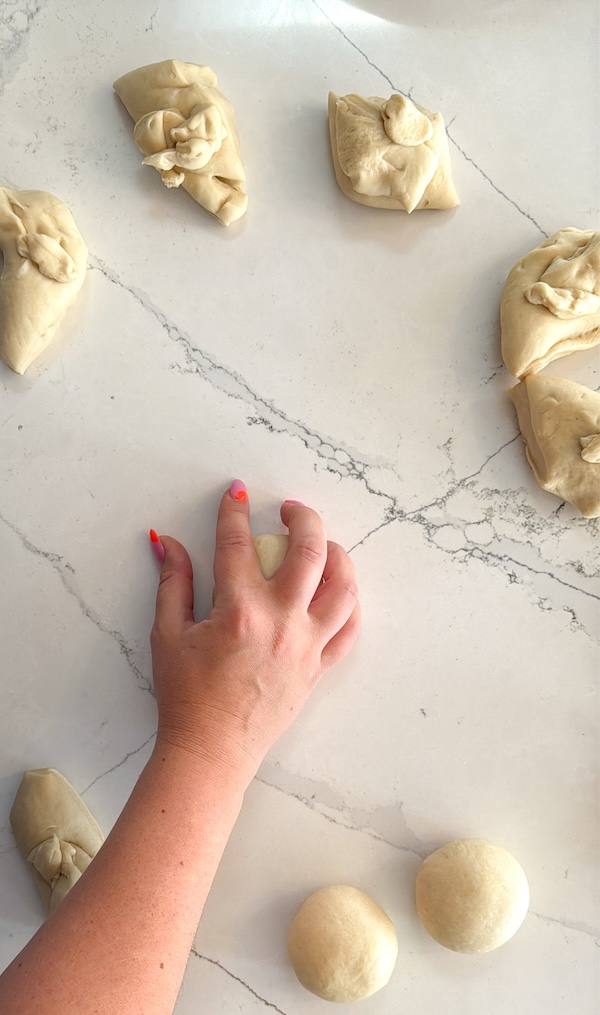
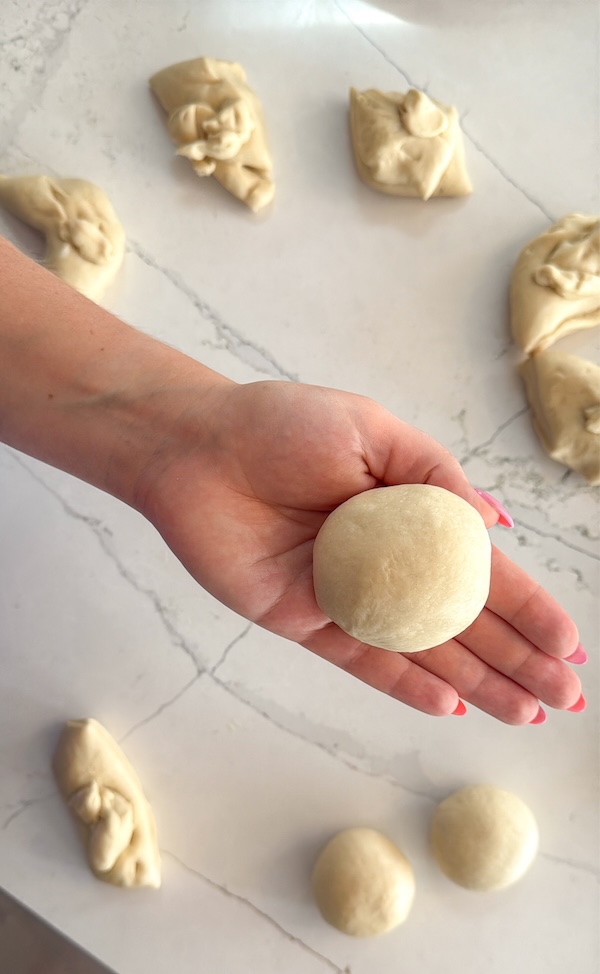
For extra tension (and prettier buns), place the dough ball seam-side down. Cover the dough with your cupped hand and roll it in small circles on your work surface. This will tighten the surface for a smoother top.
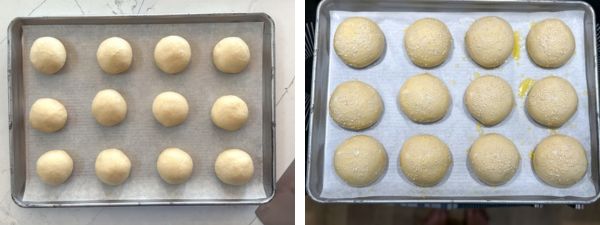
Place the shaped buns onto a parchment-lined baking sheet.
Cover the sheet with plastic wrap or a damp towel and let the buns rise for 3 to 6 hours, or until they’re larger, puffy, and have some bubbles starting to appear beneath the surface.
If your kitchen is on the cooler side, they may need more time to rise.
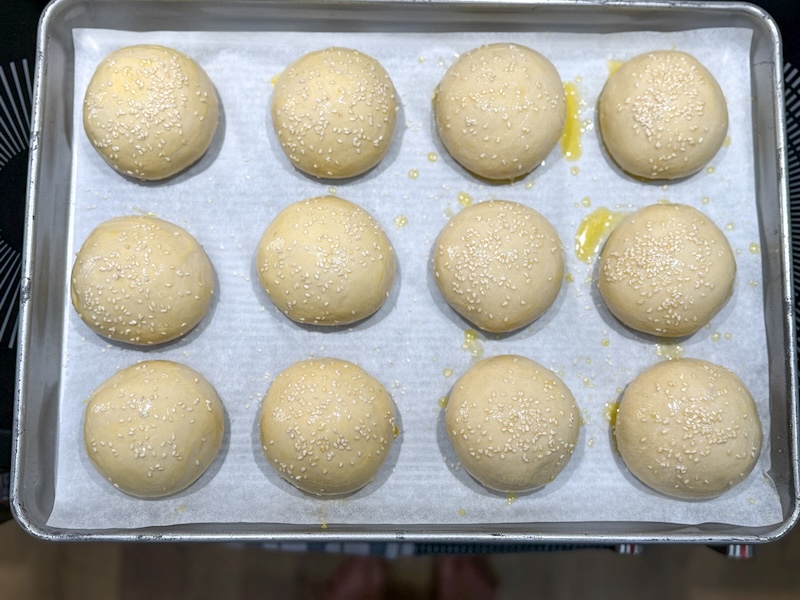
Step 6: Brush and Bake
Preheat your oven to 375°F (190°C).
Whisk one egg with a teaspoon of water in a small bowl and brush it over the tops of the buns. Sprinkle with sesame seeds if you’re using them.
If you prefer, you can brush the tops with melted butter instead—just know it gives a softer, matte finish, and the seeds won’t stick as well. Egg wash gives a shinier, deeper golden crust and helps those sesame seeds stay put.
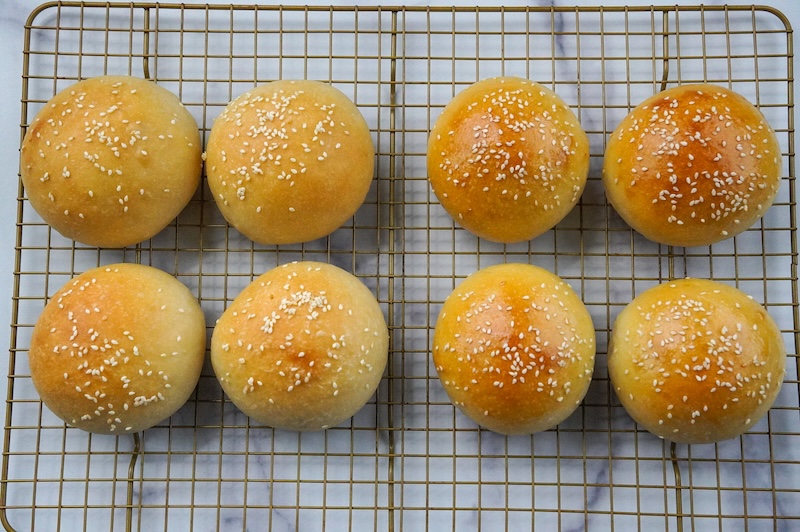
Bake for 20 to 25 minutes, until the tops are golden and the centers register around 200–210°F (93–99°C).
Let the buns cool completely before slicing.
Store any extras in an airtight container for a few days, or freeze for longer storage.
Recipe Tips for Best Results
- Let the tangzhong cool completely: Adding hot tangzhong can weaken or kill your starter, so make sure it’s completely cool before mixing. You can prepare it ahead of time and store it in the fridge (up to 2 days ahead) to guarantee it’s ready to use. This also helps keep your dough temperature low, which is important since the stand mixer generates heat through friction during mixing.
- Keep an eye on the final proof: Rise time can vary depending on your kitchen’s temperature. You’re looking for buns that are soft and noticeably puffy—but not so airy that they start to collapse or get lumpy, which means they’ve overproofed.
Pillowy Soft Sourdough Hamburger Buns (with Tangzhong)
Equipment
- Stand mixer (with dough hook)
Ingredients
For the Sweet Levain
- 20 g sourdough starter
- 20 g honey
- 60 g flour bread or all-purpose
- 40 g water
For the Tangzhong
- 63 g all-purpose flour
- 315 g milk
For the Main Dough
- 120 g sweet starter (from above)
- 80 g milk
- 50 g honey
- 80 g avocado oil or melted, unsalted butter
- 560 g all-purpose flour or bread flour
- 12 g salt
- All of the tangzhong (from above)
For Brushing
- 1 egg
- 1 tsp water
Instructions
Morning – Day 1: Make the Sweet Levain & Tangzhong
- Make the sweet levain: Start by mixing 20 g sourdough starter, 20 g honey, 60 g flour, and 40 g water in a jar. Let it ferment at room temp for 8–12 hours until it’s puffy and at its peak.

- Make the tangzhong: In a microwave-safe bowl, whisk together 63 g all-purpose flour and 315 g milk. Microwave in 30-second intervals, stirring in between, until it thickens into a smooth paste and hits 150°F (65°C). This usually takes about 4 to 6 rounds. Store in fridge until evening.
Evening – Day 1: Mix the Dough
- Mix the dough: In a stand mixer (or by hand), combine: 120 g sweet starter, 80 g milk, 50 g honey, 80 g avocado oil, 560 g all-purpose flour, 12 g salt, and All of the tangzhong. Mix on low for about 4–5 minutes until it comes together.
- Optional but helpful: Let the dough rest for 20–30 minutes, then mix again for 2 minutes to smooth it out.
- Bulk fermentation (overnight): Transfer the dough to a bowl (lightly greased if you prefer), cover, and let it ferment at room temp for 8–12 hours.
- Note: In our 70–73°F (21–23°C) kitchen, this timing worked well. Warmer homes may ferment faster, cooler ones more slowly.
Morning – Day 2: Shape & Bake
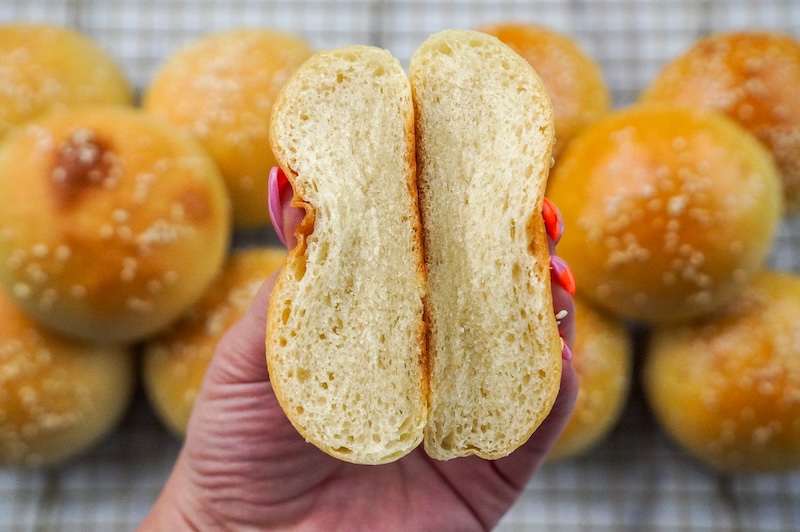
- Shape the buns: Gently turn the dough onto your work surface. Divide into 12 equal portions (about 100g each). Shape into buns (reference YouTube tutorial or step-by-step photos in the full blog post) and place on a parchment-lined sheet tray. Cover with a damp towel or plastic wrap.Prefer slider buns? Divide the dough into 24 buns, weighing 50g each.
- Final rise: Let the buns rise for 3-6 hours, or until noticeably puffy and light. In cooler homes, this might take longer.

- Bake: Preheat the oven to 375°F (190°C). In a small bowl, whisk together 1 egg and 1 tsp water. Brush the buns with the egg wash and sprinkle with sesame seeds. Bake for 20–25 minutes, until golden and the centers register 200–210°F (93–99°C).

Video

Notes

Frequently Asked Questions
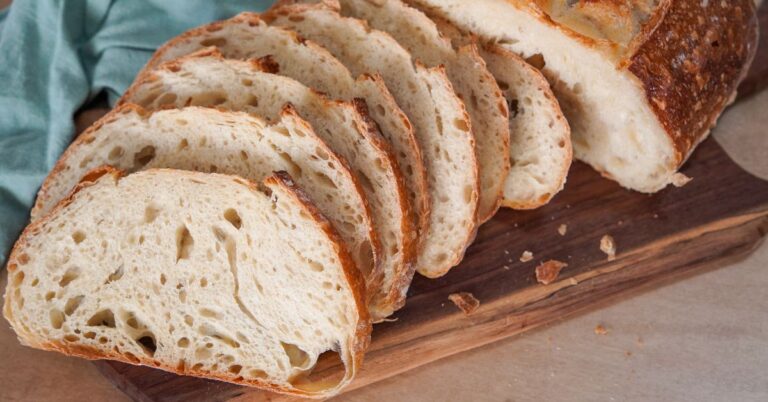
Yes! The dough is the same; it’s just the shape that changes. For step-by-step photos and more shaping tips, check out my full sourdough hot dog buns post.
If you’re after that soft, squishy, storebought feel—then yes, it’s totally worth it. We tested multiple versions, with and without tangzhong, and the dough didn’t get the right texture until we added the tangzhong.
Stored in a sealed plastic bag at room temp, they’ll stay soft for 2-3 days. After 3 days, they’ll start to get harder in texture, but a quick zap in the microwave will soften them again. For longer keeping, pop them in a zip-top bag and freeze—they’ll hold up beautifully for up to 3 months.
Conclusion
These buns are everything you want for a backyard BBQ or a midweek burger night—soft, fluffy, flavorful, and made with real ingredients.
Once you taste that homemade squish with all the sourdough goodness baked in, trust me… store-bought just won’t cut it anymore.


I’ve made these several times. They never disappoint!
Beautiful!! So glad you love them!
Not to bad for my first attempt I can’t wait to have one for lunch tomorrow.
Looks great! Enjoy!!
INCREDIBLE recipe!!! I will never buy buns from the store again. I will however, make them just a bit larger. What can I say, I like big buns!! 🤣😂 The taste, cumb and texture are spot on and they held up for use in Sloppy Joe’s beautiful!!! Thanks again for a great recipe.
OMG that sloppy joe looks heavenly!!
I made 8 hot dog buns, 4 rolls. They were nice and soft, love it. Thank you
Yay, so glad you enjoyed them!
My dough slightly more than doubled in size before dividing and shaping, and got puffy while doing the 2nd rise. But the buns still came out dense. Any ideas where I went wrong?
Oh no! Dense is typically related to fermentation but it sounds like that wasn’t the problem. Overheating or underheating the tangzhong would be next troubleshooting question – do you think that could have been it?
I have to leave in the morning. Can I put the dough in the fridge after bulk ferment and the shape the buns in the afternoon when I get home?
Yes absolutely!
I ran out of whole milk when making the tangzhong :(. When making the dough I added coconut milk (as that is what I had) and manuka honey. It turned out amazing!
So glad it turned out great despite the adjustments!