
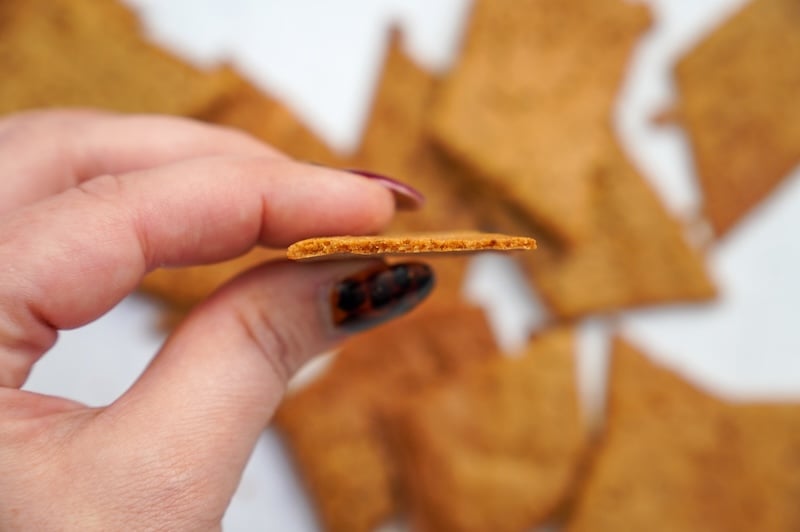
Sourdough Discard Ginger Crisps (Fast & Easy Snack!)
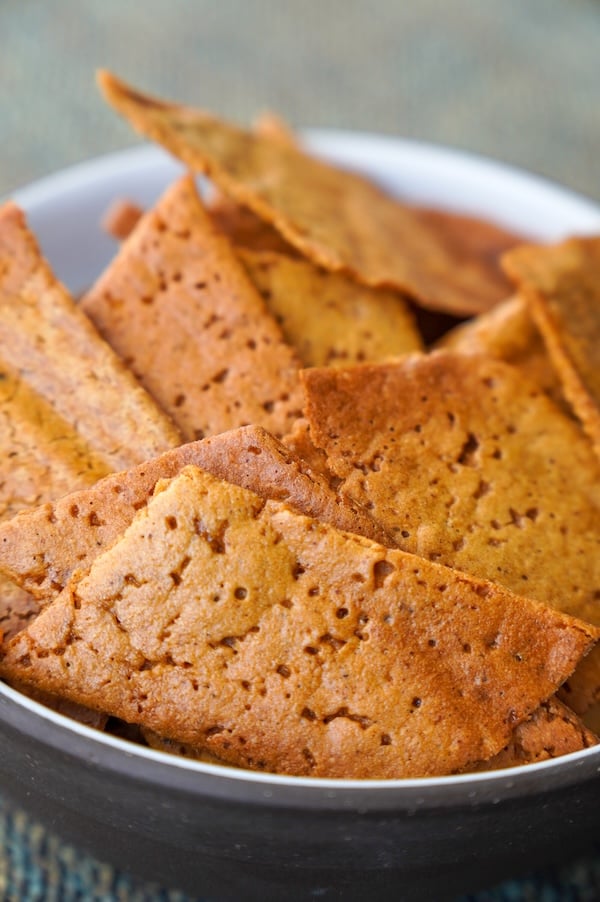
Sourdough discard + all the gingerbread flavors = ginger crisps!
P.S.: Thank you to my Instagram & Facebook followers who chimed in on the name dilemma – crisps is the perfect word!
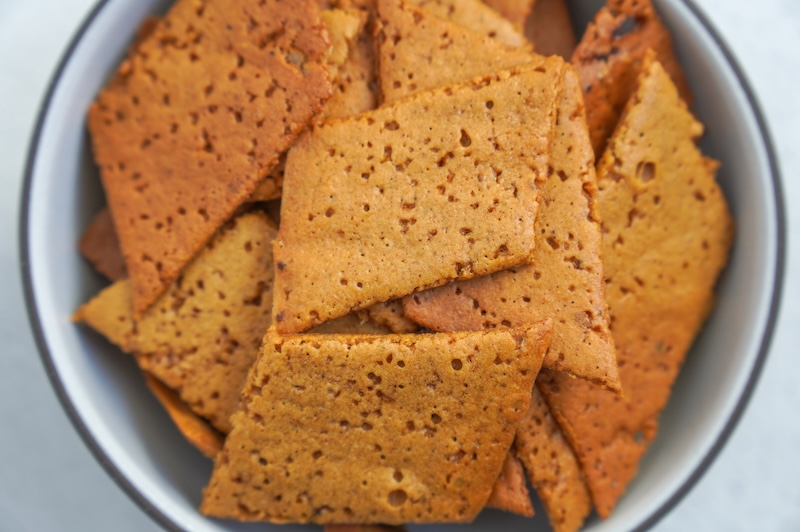
They’re perfectly snackable and have that classic gingerbread flavor without being too sweet. The sourness from the sourdough discard pairs with those flavors in what I think is a perfect blend of sweet and sour.
If you want a sweet, holiday twist on sourdough discard crackers, you’ll love this ginger crisp recipe!
Some of the products I recommend in this post are affiliate links – if you choose to purchase after clicking one of my links, I may earn a small commission, which helps fund this website, recipe development, and monthly giveaways. I sincerely appreciate your support.
Why You’ll Love These Ginger Crisps
- Takes less than 5 minutes to make
- Uses up excess sourdough discard
- No fresh flour added (meaning all the flour in these crisps is already fermented and easy on the gut)
- Smells and tastes like gingerbread – so cozy!
- Crowd-pleaser snack
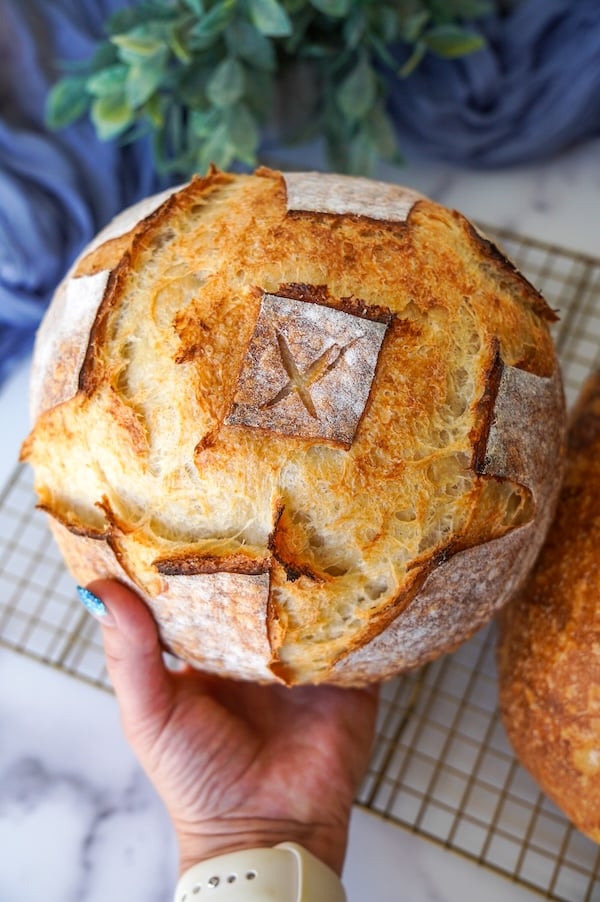
If you’re a ginger fan, be sure to save this recipe as well: The Best Sourdough Gingerbread Artisan Bread Recipe
How to Make Sourdough Discard Ginger Crisps
This recipe is so stinkin’ simple. Mix the batter, pour it on a sheet tray, and bake until crispy. That’s literally it!
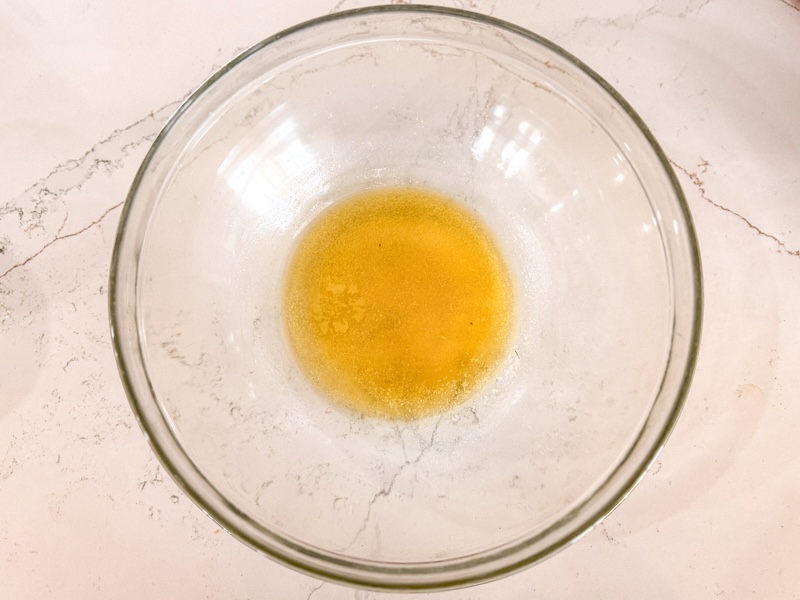
Step 1: Preheat your oven to 300°F (150°C) convection. Then, melt 28 g (2 tbsp) unsalted butter in the microwave (or on the stovetop).
If using a conventional oven (not on the convection setting), increase the oven temperature to 325°F or 160°C.
Step 2: Add 20 g molasses, 30 g brown sugar, 1/2 tsp dried ginger (or 1/4 tsp freshly grated ginger), 1 1/4 tsp pumpkin pie spice, and a Pinch of fine sea salt.
Note: You can make your own pumpkin pie spice, or I’ve been LOVING this toasted pepita pumpkin spice from Burlap & Barrel.

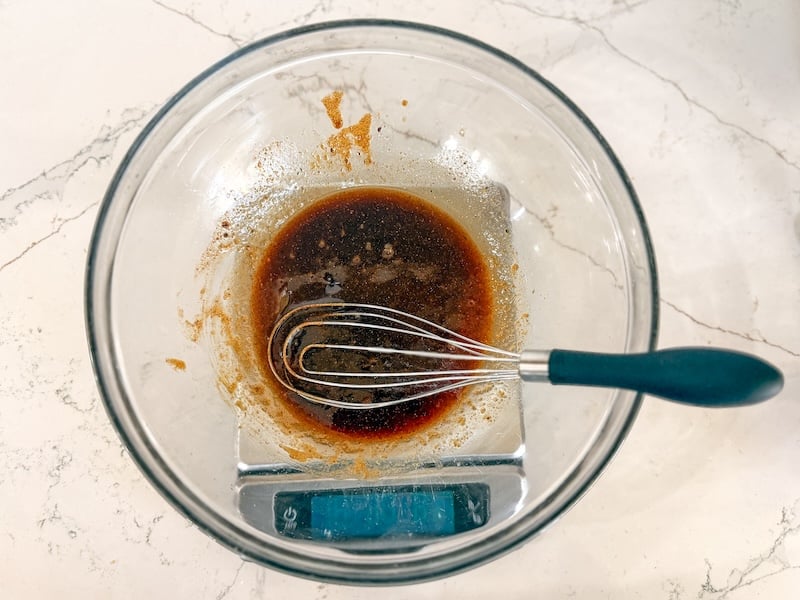
Step 3: Add 200 g sourdough starter and whisk together until smooth.


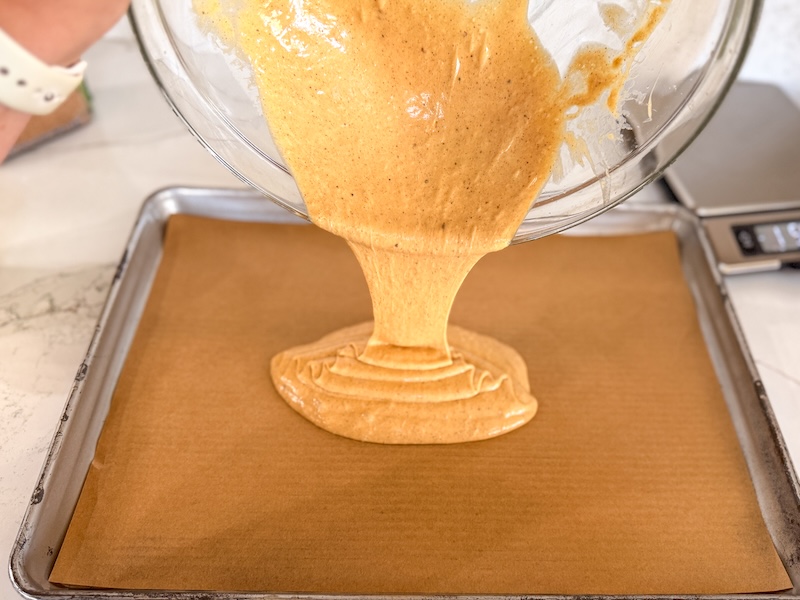
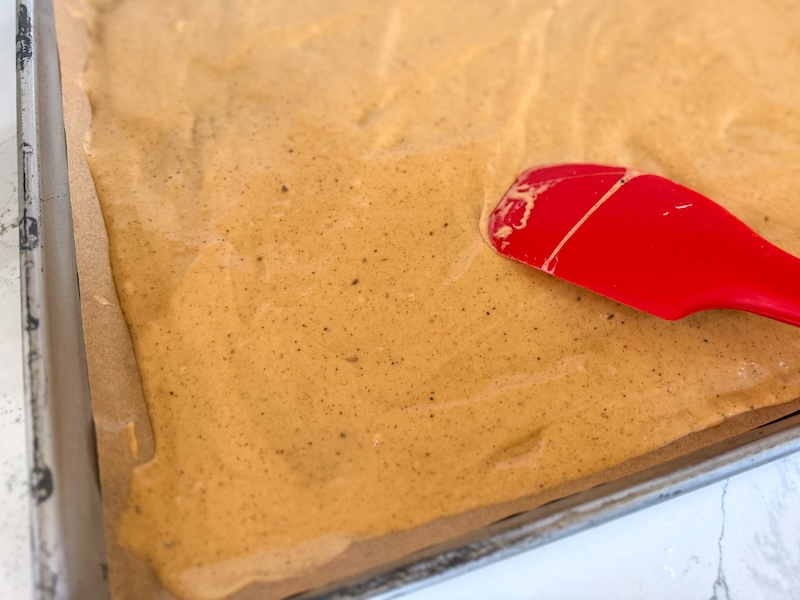
Step 4: Pour batter onto a parchment-lined half sheet tray.
I’m using the USA Pan half-sheet tray and unbleached, pre-cut parchment paper. I LOVE having parchment paper that is pre-cut to fit this sheet tray. Saves so much time!
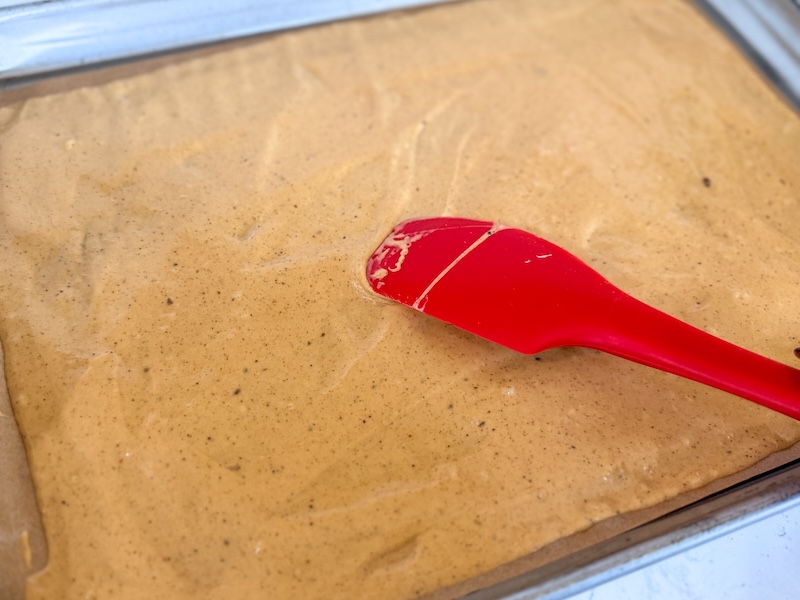
Spend a minute or two smoothing the mixture out to get it as even as possible.
Try to push the mixture toward the edges – the center is always thicker than the outside, which causes the edges to burn before the center is crisp.
Step 5: Sprinkle turbinado sugar (or cinnamon sugar) on top.
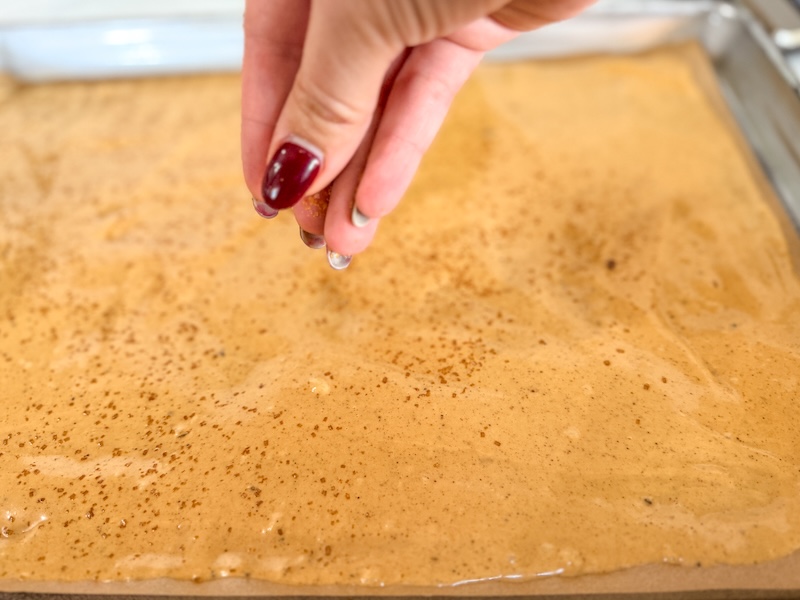
Turbinado sugar is just a coarse sugar, which adds a slight crunch to the baked crisps. I think cinnamon sugar would also be delicious! I didn’t measure this part – but if I had to guess, it was maybe 2 teaspoons worth.
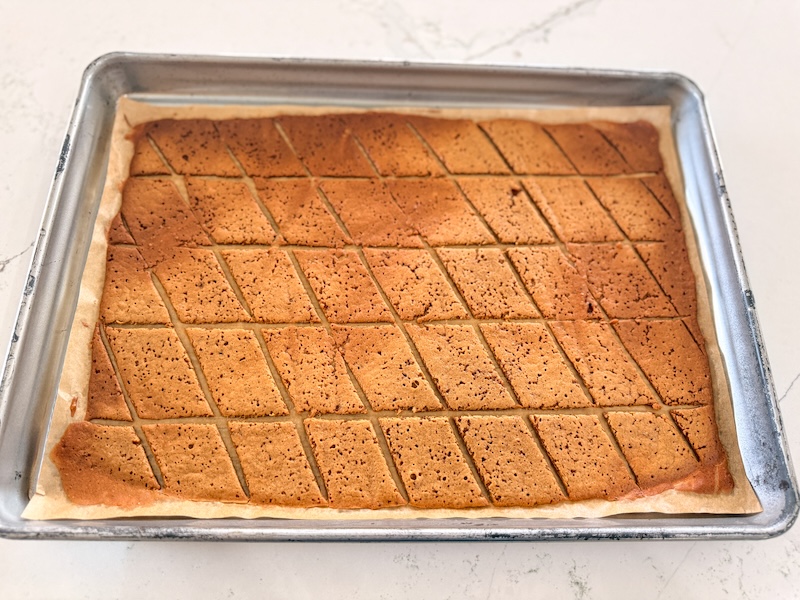
Step 6: Bake for 10 minutes; then, score your crisp shapes.
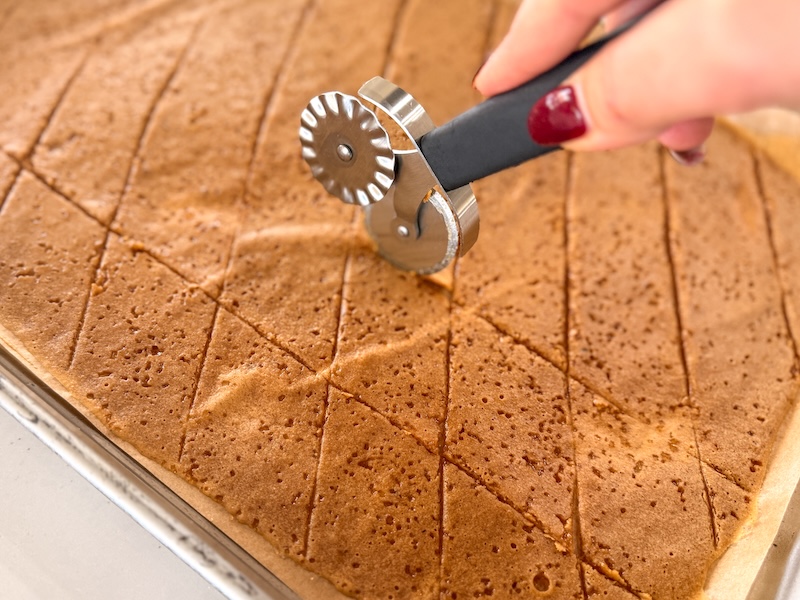
I don’t actually have a pizza cutter (I know, I know), so I use this pastry wheel – I think it’s meant for ravioli, but I use it for all kinds of things.
A sharp knife would also work, but just be careful that you don’t use a lot of pressure. We don’t want to ruin our sheet tray!
You can do any design you like. Sometimes, I only score in one direction. Then, I break that long strip up by hand after it has cooled, which gives a more rustic look. But really, the world is your oyster here.
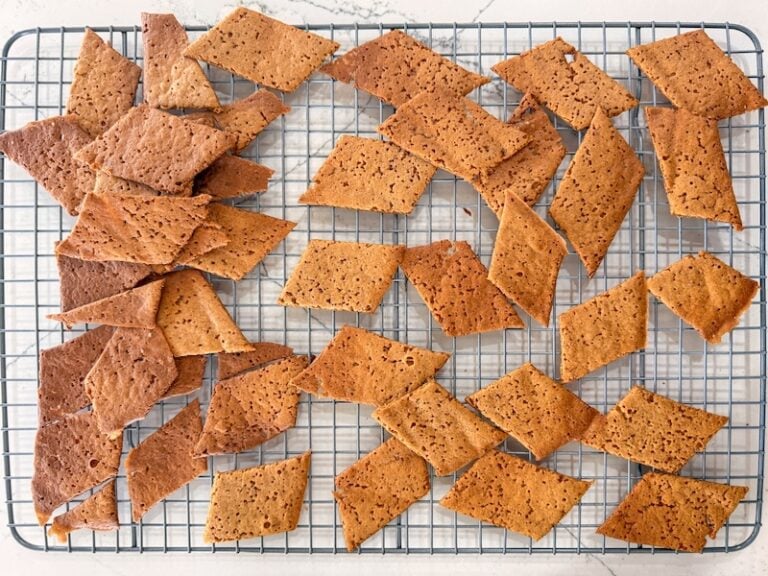
Step 7: Bake for another 25 minutes; then, remove the outer edges (if needed).
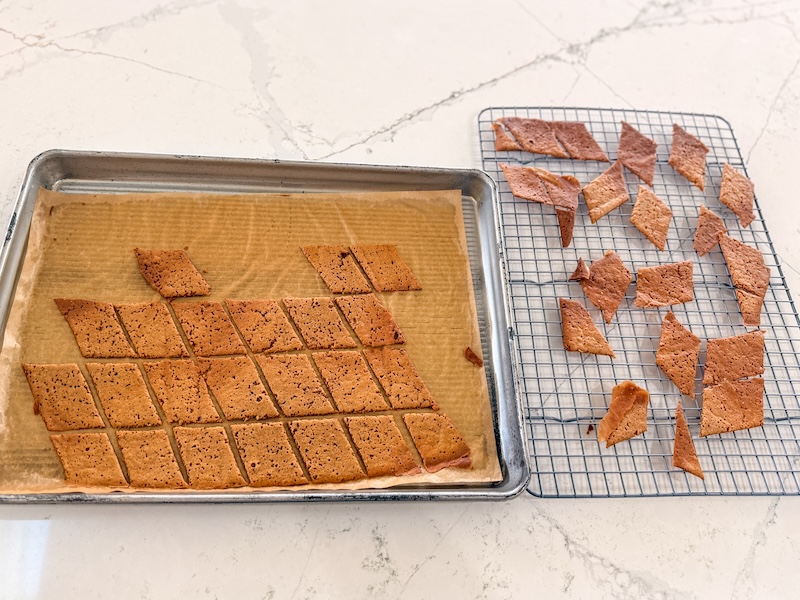
No matter how hard I try to spread the batter evenly, the edges always crisp up faster than the center. To make sure those don’t burn, I pull them off the sheet tray about 5 minutes before the center pieces.
No crisp left behind!
Step 8: Bake the remaining crisps for about 5 more minutes (or until crispy and golden).
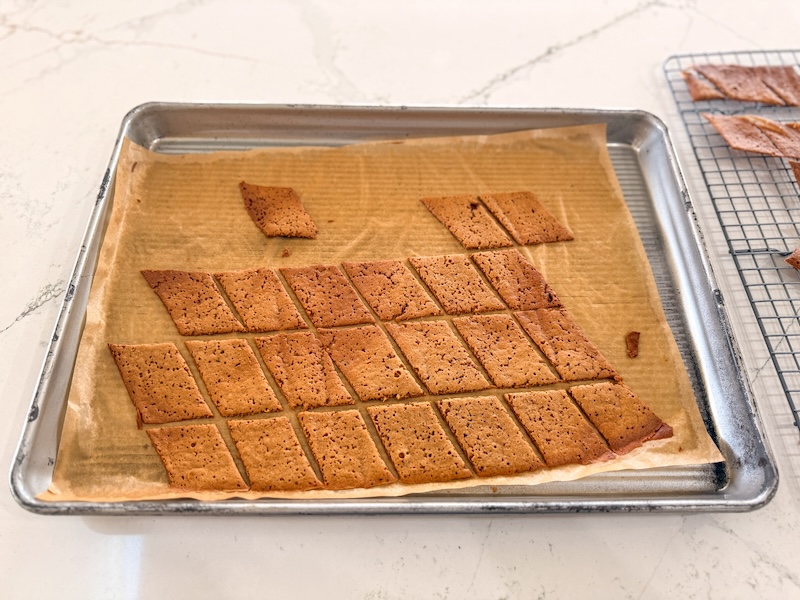
The exact times will depend on your oven, but you’ll know by looking at the crisps if they’re ready.
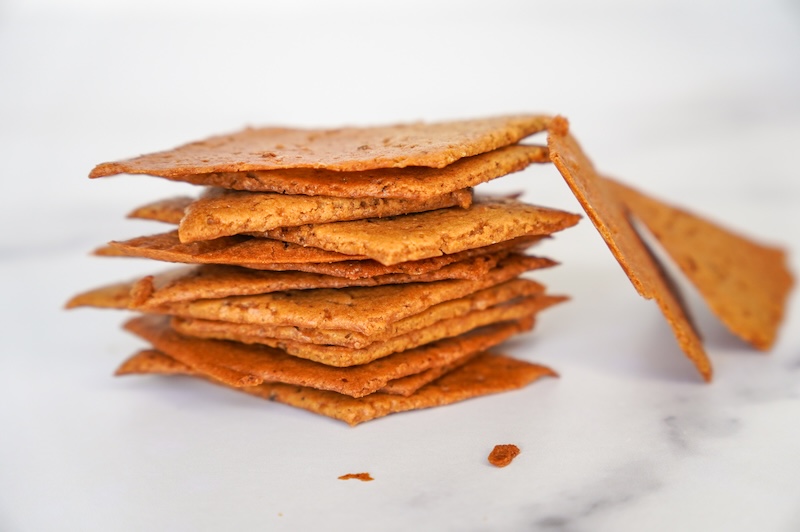
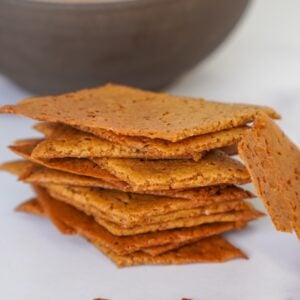
They’re turn a golden brown color, and if you gently tap the surface, it’ll be slightly firm. They’ll crisp up more as they cool.
Let them cool on a cooling rack for about 5-10 minutes – then, try not to eat them all in one sitting!
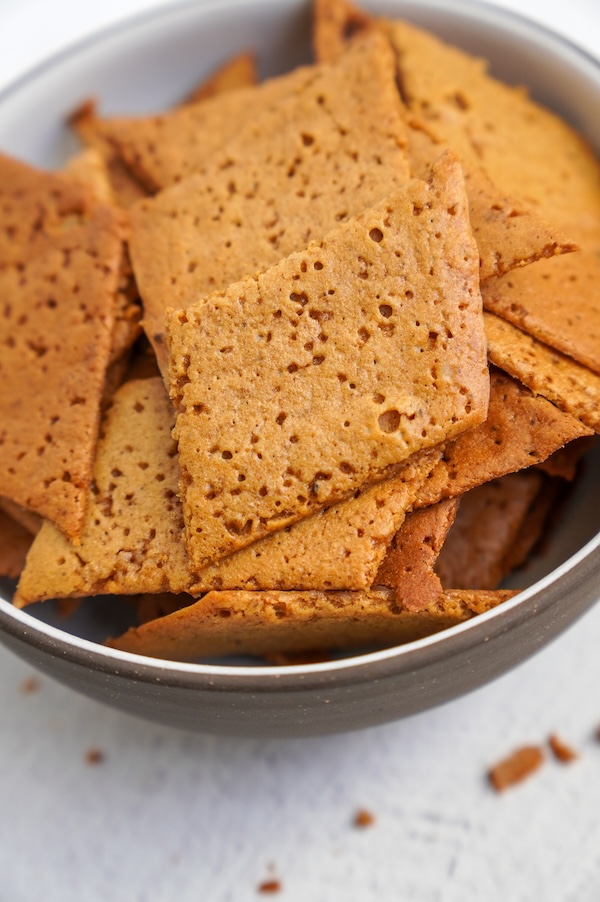
I like storing these in a glass mason jar. But any airtight container is fine. Store on the counter or in your pantry for weeks (if they last that long).
Baking Tips for the Best Crisps
- Spread it evenly: Use a spatula to smooth out the batter as evenly as possible. That way, you won’t end up with burnt edges and chewy middle pieces.
- Use fresh-ish discard: I like discard that’s 10 days old or less. The more recent, the better the flavor. Really old discard can give the crackers a bitter or ultra-sour taste. If it has hooch on top, I wouldn’t use it in a recipe like this. (You can also use active starter to make these crackers if you prefer! It would probably taste better as well.)
- Keep an eye on them: Every oven is a little different. Start checking around the 25-minute mark. If the edges are done early, pull them off and let the rest keep baking.
- Scaling the recipe: If you scale the recipe up, don’t go overboard on the tray. I don’t recommend using more than 200 g of discard per half-sheet tray for this recipe, or the crackers will be too thick and turn out chewy instead of crispy. If you double the recipe, make sure to use two half sheet trays.
Other fast & easy sourdough discard recipes you might like:
Sourdough Discard Ginger Crisps
Equipment
- Microplane if grating fresh ginger
- Pizza Cutter or pastry wheel
Ingredients
- 28 g unsalted butter melted
- 20 g molasses
- 30 g brown sugar
- 1/2 tsp dried ginger or half as much freshly grated ginger
- 1 1/4 tsp pumpkin pie spice
- Pinch of fine sea salt
- 200 g sourdough discard
- Turbinado sugar for sprinkling on top
Instructions
- Preheat the oven to 300°F (150°C) convection. Line a half sheet pan with parchment paper or a silicone baking mat.
- In a mixing bowl, melt 28 g unsalted butter in the microwave. (You can do it in a saucepan on the stovetop if you prefer.) Add 20 g molasses, 30 g brown sugar, 1/2 tsp dried ginger, 1 1/4 tsp pumpkin pie spice, and a Pinch of fine sea salt. Whisk together.

- Finally, add 200 g sourdough discard and whisk together until smooth.
- Pour the mixture onto the prepared baking sheet. Use a spatula to spread it thin and even. Sprinkle Turbinado sugar (or cinnamon sugar) across the top of the mixture.

- Bake for 10 minutes, until it's set enough to score. Remove from the oven and use a pizza cutter or pastry wheel to score your desired shapes.
- Return the sheet tray to the oven and bake for an additional 20-25 minutes, or until the edges are crisping up and turning brown. Remove the edge pieces to a cooling rack.Note: If you are a superhuman and manage to have a perfectly level batter, you won't have to do this. Alas, most of us regular folk have thinner edges and thicker middles, so this is how to prevent the edges from burning!
- Return the rest of the crisps to the oven for an additional 5-8 minutes, or until the remaining crisps are… well… crispy! Cool on a wire rack for 10 minutes. Enjoy, and try not to eat them all in 5 minutes!


Notes
- You can use active sourdough starter in place of sourdough discard if you prefer.
- Store in an airtight container (a tin or glass mason jar works best) to keep them crisp. They will last in your pantry for weeks.
- Feel free to scale this recipe up or down, but don’t put more than 200g of discard on a half sheet tray, or your crackers will be too thick.
Conclusion
These ginger crisps don’t last more than an hour in our house… I hope you enjoy them as much as we do!
If you make them, let me know in the comments how it went. I also love seeing your creations on social media – tag me @thatsourdoughgal so I can see them!!
Similar recipes:


These cookies are delicious. I will add more ginger next time or maybe fresh ginger. Thank you soooo much.
I have found that the best way to get ALL of the cracker to uniform doneness and ALL of the crackers super crispy is after scoring the crackers ( after the initial 10 min bake), return them to the oven for only 15 to 20 min, then turn off the oven and let them coast until they are near cool. All of the crackers are uniform and color, and super crispy. Way easier and more successful than removing the outer crackers then baking the inner ones longer. This method is foolproof.
These are yummy! I used an offset spatula to smooth the dough out and it was very even. I discovered that these crackers get crispier as they cool. Perfect for this time of year!
So glad you like them!!
I’m thinking this concept but in a pie crust/recipe would be amazing, for apple pie, pumpkin pie, sweet potato pie, depression pie, apple juice depression pie… the possibilities are almost endless!
Oh, my goodness! These are just delicious! It is very hard not to eat at least 10 at a time…the flavor and crunchiness is out of this world. I will be making these on a regular basis.
They are dangerous for sure!! So glad you love them!
Hi SD friends, has anyone tinkered with using Blackstrap molasses (darker) vs. Fancy molasses (lighter)?
I’m going to try this recipe with what I have on hand today (Fancy), but I’ll be stocking Blackstrap on my next shop to compare. Could you also add the preferred consistency/hydration of the starter? I’ve been feeding 1:1:1 by weight lately and it seems to have gotten stiffer from when I would measure with cups. Thanks!
I love that you can find a cartin of BSM! I love it! How did they turn out?
I love gingerbread! I’m going to have to try this. I’ve neglected my sourdough recently so I’ll have to get it going again. This might push me to do that, or to reconstitute what I dried to preserve it. As for the pizza wheel, I’m thinking that pastry cutter is better for this anyway. You can’t get the pizza wheel all the way to the edges of a pan with sides.
Yes, you’ll have to give these a try and let me know what you think!
These should be illegal. They are absolutely fabulous. I will for sure be making these for the family Xmas party.
Love your recipes !!!
The overnight artisan one is what finally got me on track as a new SD baker. I’m getting consistent results now.
Thank you so much !!
Beautiful!! So glad you loved them!
So easy and delicious. They won’t last more than a day in our house!
Happy to hear it Hannah!
These are not bad. I must really like ginger so I think next time I’m going to put more ginger in them they’re just not Snappy enough for me not that these are Ginger Snaps I think that’s what I was expecting though.
Yes, feel free to add more ginger to your liking!
Recipe was nice and easy to follow. When I poured out the mixture onto my parchment paper, I guess I wasn’t fast enough in spreading it because the paper buckled at the edges of the circle of the mixture and then it also buckled in other places. In those spots, the crackers came out really thin. I used King Arthur sheets. Any solutions to that? Also, these taste great but they have an unusual tang….not the sourdough tang….I wonder if it’s in the molasses I used? Thoughts? I forgot to sprinkle the sugar in the beginning but no worries, I sprinkled it on when I took them out to cut.
I’m not sure on the parchment paper issue. And yes Blackstrap molasses is strong – I just used regular molasses!
I love these, so unexpected! I made the first batch and thought they were pretty bad as I overbaked them. Then I decided to go back and try again. Oh, these are addicting!
So glad you loved them Linda!
Another great way to use up discard! I’ve tried most of them and the Everything Bagel was too sour, but I think that was my starter that I’m bringing back to life!. This one is great and although there is sugar, it’s not too sweet and a great balance with the bit of sour from the starter. I found in all of these cracker recipes that if I let the starter warm up, mix with the warm butter and use a fork like scrambling eggs, it thins out pretty well. And when i get to the last part of spreading it, i spritz it with a little water and my spatula glides over the top moving the highs to the lows without making puddles or troughs. It comes out pretty even. Thanks for all your testing!
Love those tips, thanks for sharing!!
I will be trying these!! Can I use ginger that comes in a jar that is mashed?
Yes that would work here! Just a word of caution though not to sub that in a bread recipe that ferments – it’ll impact fermentation negatively. But it’s fine for this recipe!
These are quick, easy and delicious. I personally wanted more ginger flavor so I added a little bit of ginger puree and that did the trick!
Glad you enjoyed the crisps! Yes, feel free to adjust the ginger to your liking!
I usually sub applesauce for pull when I bake. Have you tried anything other than butter or oil? I’ll be trying these this weekend!
I have not!
Anyone substituted for the molasses? Not an ingredient I can find where I live.
If you can find brown sugar where you live, swap the molasses for additional brown sugar.
What ratios is your starter (then discard)….I ask because I made this recipe – followed the weights and measuremnts, and these turned like very gummy – like very tough fruit leather. Nice flavor, but more like shoe leather. 🙁 When I refresh my sourdough starter, I use equal amounts of starter, water, flour. Could it be that the ratio of your starter/discard is that much different than mine? I baked and baked these – a few got firm, but so hard, could not even pull them apart with my teeth… any ideas?
Sounds like the mixture needs to be spread thinner on the pan. I maintain a 100% hydration starter.