
Homemade Peanut Butter: Add Water, Not Oil (Here’s Why)
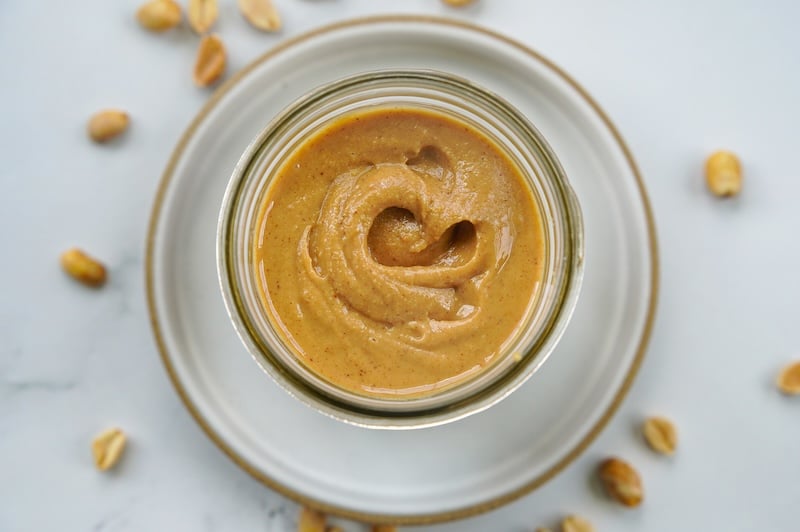
Making homemade peanut butter requires just three simple ingredients: roasted peanuts, sea salt, and water. Yes, water!
I’ll explain the science behind why it works below, but the short version is that water thickens the peanut butter into a spreadable consistency
Disclosure: Some of the links to products I recommend in this post are affiliate links — if you choose to purchase through one of my links, I may earn a small commission, which helps fund this website, recipe development, and monthly giveaways. I sincerely appreciate your support.
Why You’ll Love This Recipe
- Simple ingredients: just roasted peanuts, salt, and water.
- Potential money-saver: natural peanut butter at the store can get expensive fast, so making your own can save you some money.
- Spreadable texture: homemade peanut butter can be runny and thin, but thanks to a little added water (I’ll explain shortly), this version is thick and spreadable.
- Takes about 10 minutes: about 10 minutes in a food processor is all it takes to make homemade peanut butter.
- Incredible, fresh flavor: I was shocked when I tasted my first batch — it truly does taste fresher than store-bought.
Water: The Secret Ingredient to Better Peanut Butter
Water is probably the last ingredient you’d think of for thickening a mixture, but for peanut butter? It works.
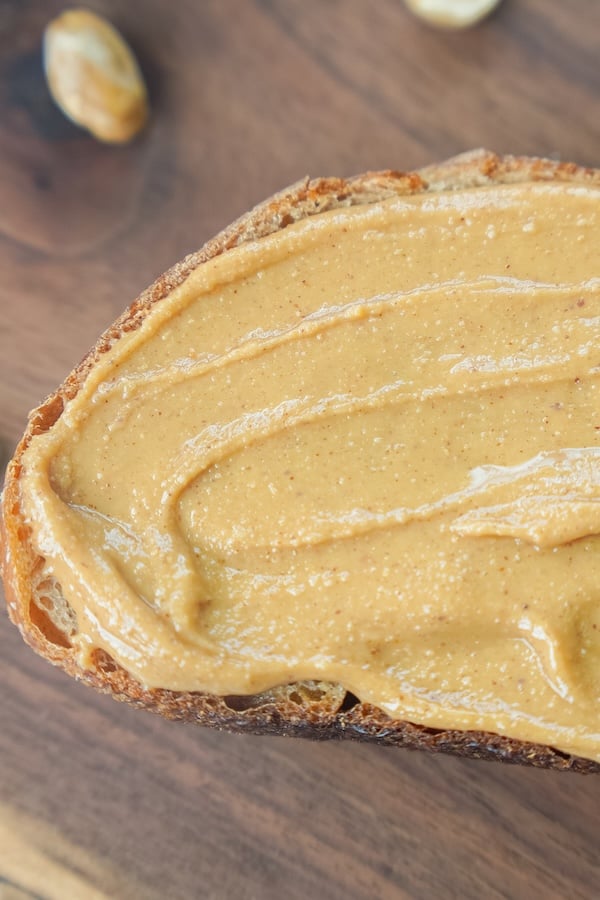
Before I explain the science behind this, here’s homemade peanut butter made with just peanuts and salt (no water):
It was good — don’t get me wrong. But it wasn’t ideal for peanut butter and jelly sandwiches — it wanted to ooze off the bread, and I couldn’t build up a thick layer even if I tried.
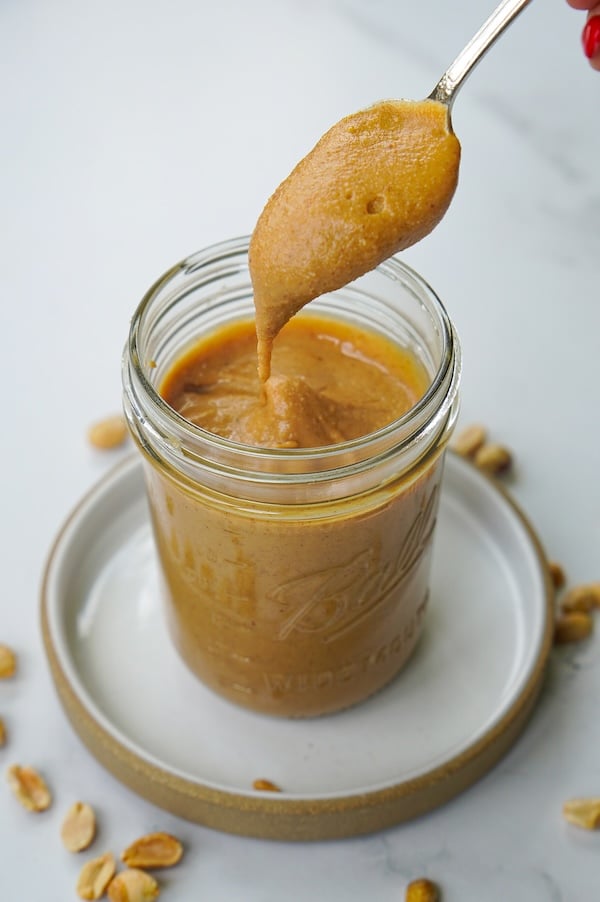
Here’s homemade peanut butter with a little water added:
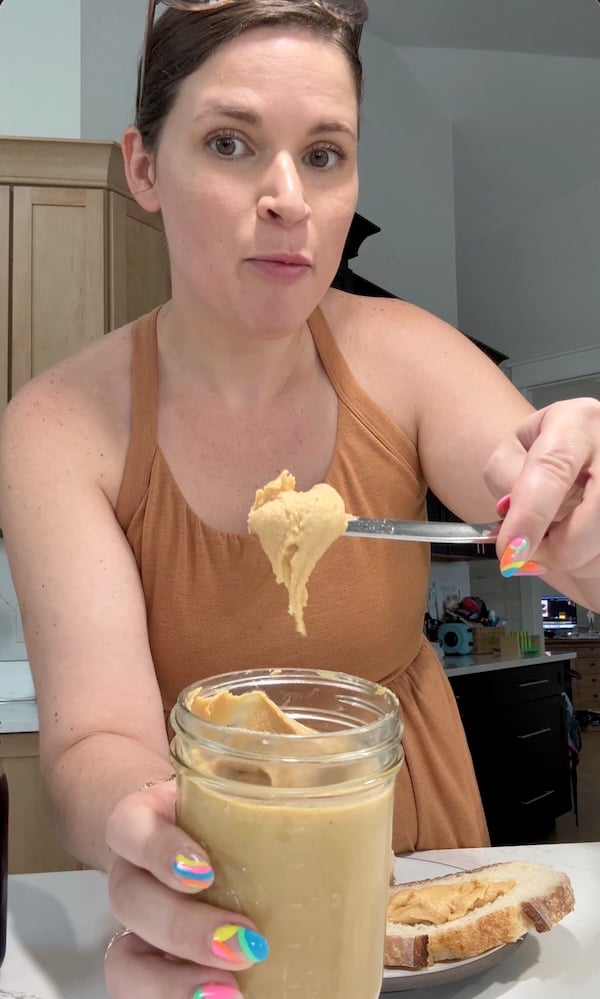
The difference is night and day, and all it took was a tablespoon and a half of water.
Why Water Thickens Peanut Butter
Using water as a thickener sounds entirely backward, but hear me out — water and oil don’t mix, and that’s exactly why this works.
Peanut butter is essentially tiny bits of ground peanut suspended in peanut oil. When you add a little water, it can’t mix with the oil. Instead, it forms tiny bridges between the peanut particles, pulling them together and creating a thicker texture.
Scientists call this a capillary suspension.
There’s a second factor at work, too. Peanuts are about 25% protein, and those proteins absorb water and swell. Cook’s Illustrated demonstrated this by testing both water and oil: water thickened runny peanut butter, while oil did nothing because peanut proteins absorb water but not oil.
Fun fact: that same protein-water interaction helps explain why peanut butter gets thicker and harder to swallow the longer you chew it — your saliva is mostly water!
There is a point at which adding too much water makes the whole mixture thin out again, so don’t take it too far. But isn’t this fascinating?!
Equipment You’ll Need
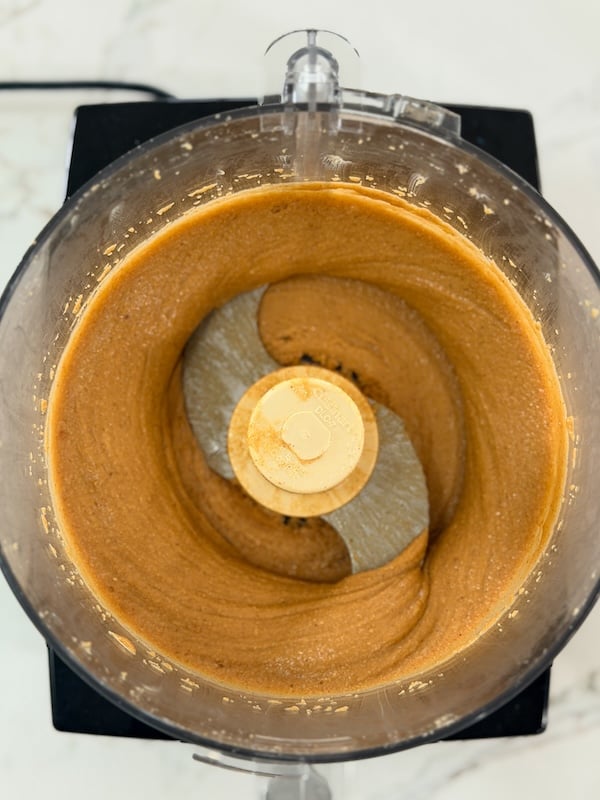
The main piece of equipment you’ll need for homemade peanut butter is a food processor. I have the 14-Cup Cuisinart and absolutely love it.
A few other helpful tools:
- A flexible spatula: Used for scraping down the sides of the bowl between stages and getting every last bit into the jar. I love my double-sided Tovolo spatula for this.
- Measuring cups and spoons: I know, I know — I used measuring cups and spoons for this recipe instead of a scale. I find them a little easier for something like this.
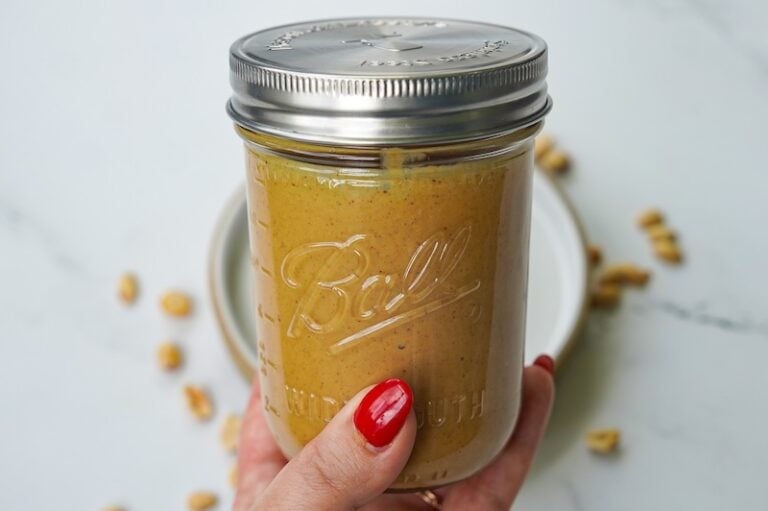
- Pint-sized mason jar: This recipe makes about 1 pint of peanut butter. I also love these metal lids from Mason Jar Lifestyle.
Peanut Butter Ingredients

- Roasted unsalted peanuts: I suggest buying roasted peanuts, not raw. Roasting is what develops that deep, nutty flavor you associate with peanut butter, and buying them roasted means that step is already done for you.
- Fine sea salt: Start with 1 teaspoon and taste before you add more — you can always add; you can’t take away. I use Redmond’s Real Salt (15% off with code TSG15), but any fine salt works.
- Water: The secret ingredient, and the whole reason this recipe exists. Tap water is fine.
Ingredient Substitutions
- Salted roasted peanuts: Absolutely — I use them when that’s what I have in the pantry. Just don’t add any salt at the start. Process the peanuts plain, then taste and add salt if needed. In my experience, you’ll want somewhere around ½ teaspoon, but taste is the real guide here.
- Any fine salt: Sea salt, table salt, whatever’s in your cabinet. Just keep it fine rather than flaky, if possible. If you want to add more salt to taste toward the end of processing, fine salt will blend in more easily than coarse salt.
How to Store Homemade Peanut Butter
My recommendation: store this homemade peanut butter in the fridge.
Commercial peanut butter is shelf-stable partly because it contains very little water. This recipe deliberately adds water, which can create a better environment for mold and bacteria to grow.
So keeping it cold is the safest option. And the good news: this peanut butter doesn’t separate, and it stays soft enough to spread straight from the fridge.
FAQs
Because it thickens it. Water and oil don’t mix, so instead of thinning the mixture, the water forms tiny bridges between the ground peanut particles, pulling them together and creating a thicker, spreadable texture. There’s a full explanation in the science section above.
No. Cook’s Illustrated tested both and found that water thickened peanut butter, while oil did nothing. Peanut proteins can absorb water but not oil. If your peanut butter is already too thin, adding oil will only make it thinner.
I recommend it. This recipe contains added water, which can create a better environment for mold and bacteria to grow. See the storage section above for my full reasoning.
Yes — I’ve made it both ways. Just skip the added salt at the start, then taste and adjust the salt before you add the water.
I’ve made this recipe several times, and it almost always takes 6–10 minutes. Your timing may vary a bit depending on your food processor and how often you stop to scrape down the sides.
That’s why I’d rather you follow the stages than the clock. However long it takes, you’ll get to watch the transformation happen — just follow along with my notes in the recipe card.
I haven’t personally done this because my kids would have a fit, but once the peanut butter is finished, I’d toss a handful of peanuts in the food processor and pulse until it’s as crunchy as you like. That oughtta do it!
None. Oil makes homemade peanut butter thinner, not thicker. If your peanut butter is already runny, adding oil will make it worse.
I sure think so!
Better Homemade Peanut Butter
Equipment
- Mason jar lid (I love these metal ones)
Ingredients
- 3 cups roasted unsalted peanuts (or salted; see Notes)
- 1–2 tsp fine sea salt to taste
- 1.5 tbsp water
Instructions
- Add 3 cups roasted unsalted peanuts and 1–2 tsp fine sea salt (start with 1 tsp — you can add more to taste later) to a food processor. Process for 6–10 minutes. The mixture will go through several distinct stages — don't stop early:• Stage 1: sandy and crumbly• Stage 2: clumpy and moldable• Stage 3: forms a dough-like ball• Stage 4: breaks back down into a thick, spreadable paste• Stage 5: continues to thin and sounds watery as it processes

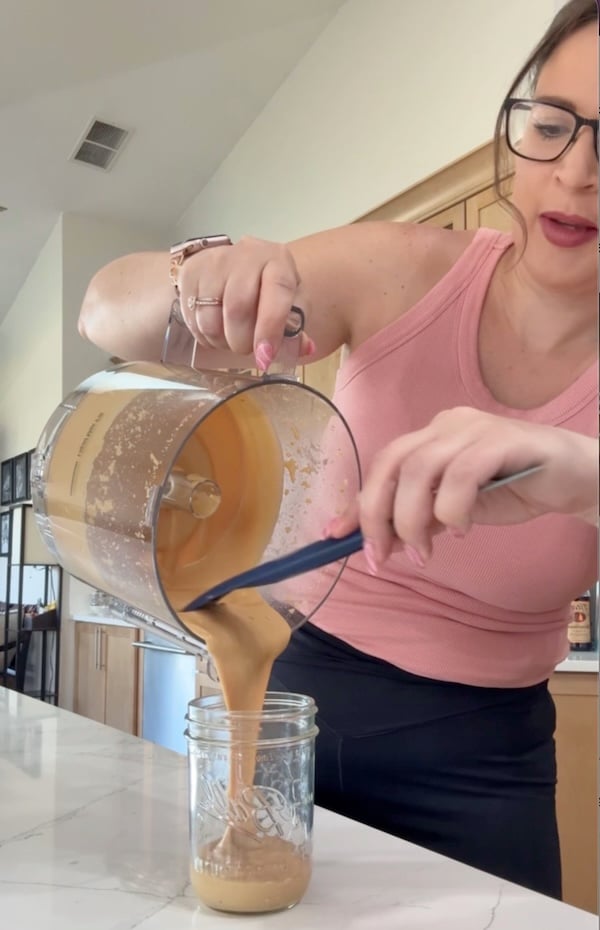
- As soon as the mixture thins and sounds watery, add 1.5 tbsp water while the processor is running. It'll thicken immediately. Continue processing for another 30–90 seconds, or until smooth. The mixture will be hot from friction and will thicken more as it cools to room temperature.
- Transfer to a pint-sized mason jar and refrigerate.


Notes
Conclusion
Homemade peanut butter is worth it! With just three ingredients and 10 minutes, you get a pint of fresh, perfectly spreadable peanut butter.
I put off making my own peanut butter for years because I assumed it wouldn’t be worth the trouble. It turns out the only thing standing between my homemade peanut butter and that thick, spreadable store-bought texture was a tablespoon and a half of water.
Other pantry staple recipes you might like:



Did you try a version with maple syrup or honey?
I did not
Great option. Will you try making nut butter from other nuts, like almond or pistachio?
Yeah that will be fun!
I’ve made this often but have never added water. I will next time. just wondering if refrigeration is necessary? I never have.
I never did either, but after researching food safety, it felt like my responsibility to make that the default suggestion. And after storing it in the fridge for the first time to test out the consistency, it’s perfect, so there’s really no downside!
It worked perfectly! Water was actually the key 🙂
Woop woop!
Awesome recipe – this is going into the “make on repeat” file. Fun fact: the 1 lb. bag of Trader Joe’s roasted and unsalted peanuts is exactly 3 cups. I reused my Bonne Maman Jelly jars to store my peanut butter. I ended up using 2 jars, one of them were gone by the next morning.
Ah perfect!! Thanks for sharing!
So delicious and easy to make, cannot recommend enough. The addition of the water is genius and thickened up as soon as I added it.
This will absolutely be a new staple in our house and no more store bought peanut butter.
I made this last night! So easy and absolutely delicious!! Can’t wait to share with my family!!
Thanks so much for sharing!!
Love this recipe, and will make this over and over. We love our peanut butter! Now, I can control the salt content.
YAY! The best way to make peanut butter!